When it was a really nice day recently we decided to abandon all plans for chores, gardening and DIY and have a late lunch bbq.
It being still only March we didn't quite feel like wheeling the gas bbq out of the barn and setting it all up which would have taken quite a while. However, last year we bought a small electric bbq at a brocante for 8€ which has been a huge success so we used that instead.
We did some of our chicken, lemon and thyme kebabs (see here), a carrot and red cabbage coleslaw (see here) and some air fryer herby mini potatoes. When the gas barbecue comes out for the year we will do our potatoes on that instead as the process is just the same (cooking the potatoes in a foil tray on the bbq) but on this occasion the air fryer came into its own and lunch was on the table (outdoors in the early spring sunshine) within half an hour.
Another thing I have started using recently is home made one-cal oil spray. This is a tip from Nancy Birtwhistle and it works really well, makes spray oil without any additives cheaply and easily. I bought a glass spray bottle from Amazon that has liquid measurements on the side and which makes the job of making the oil so easy.
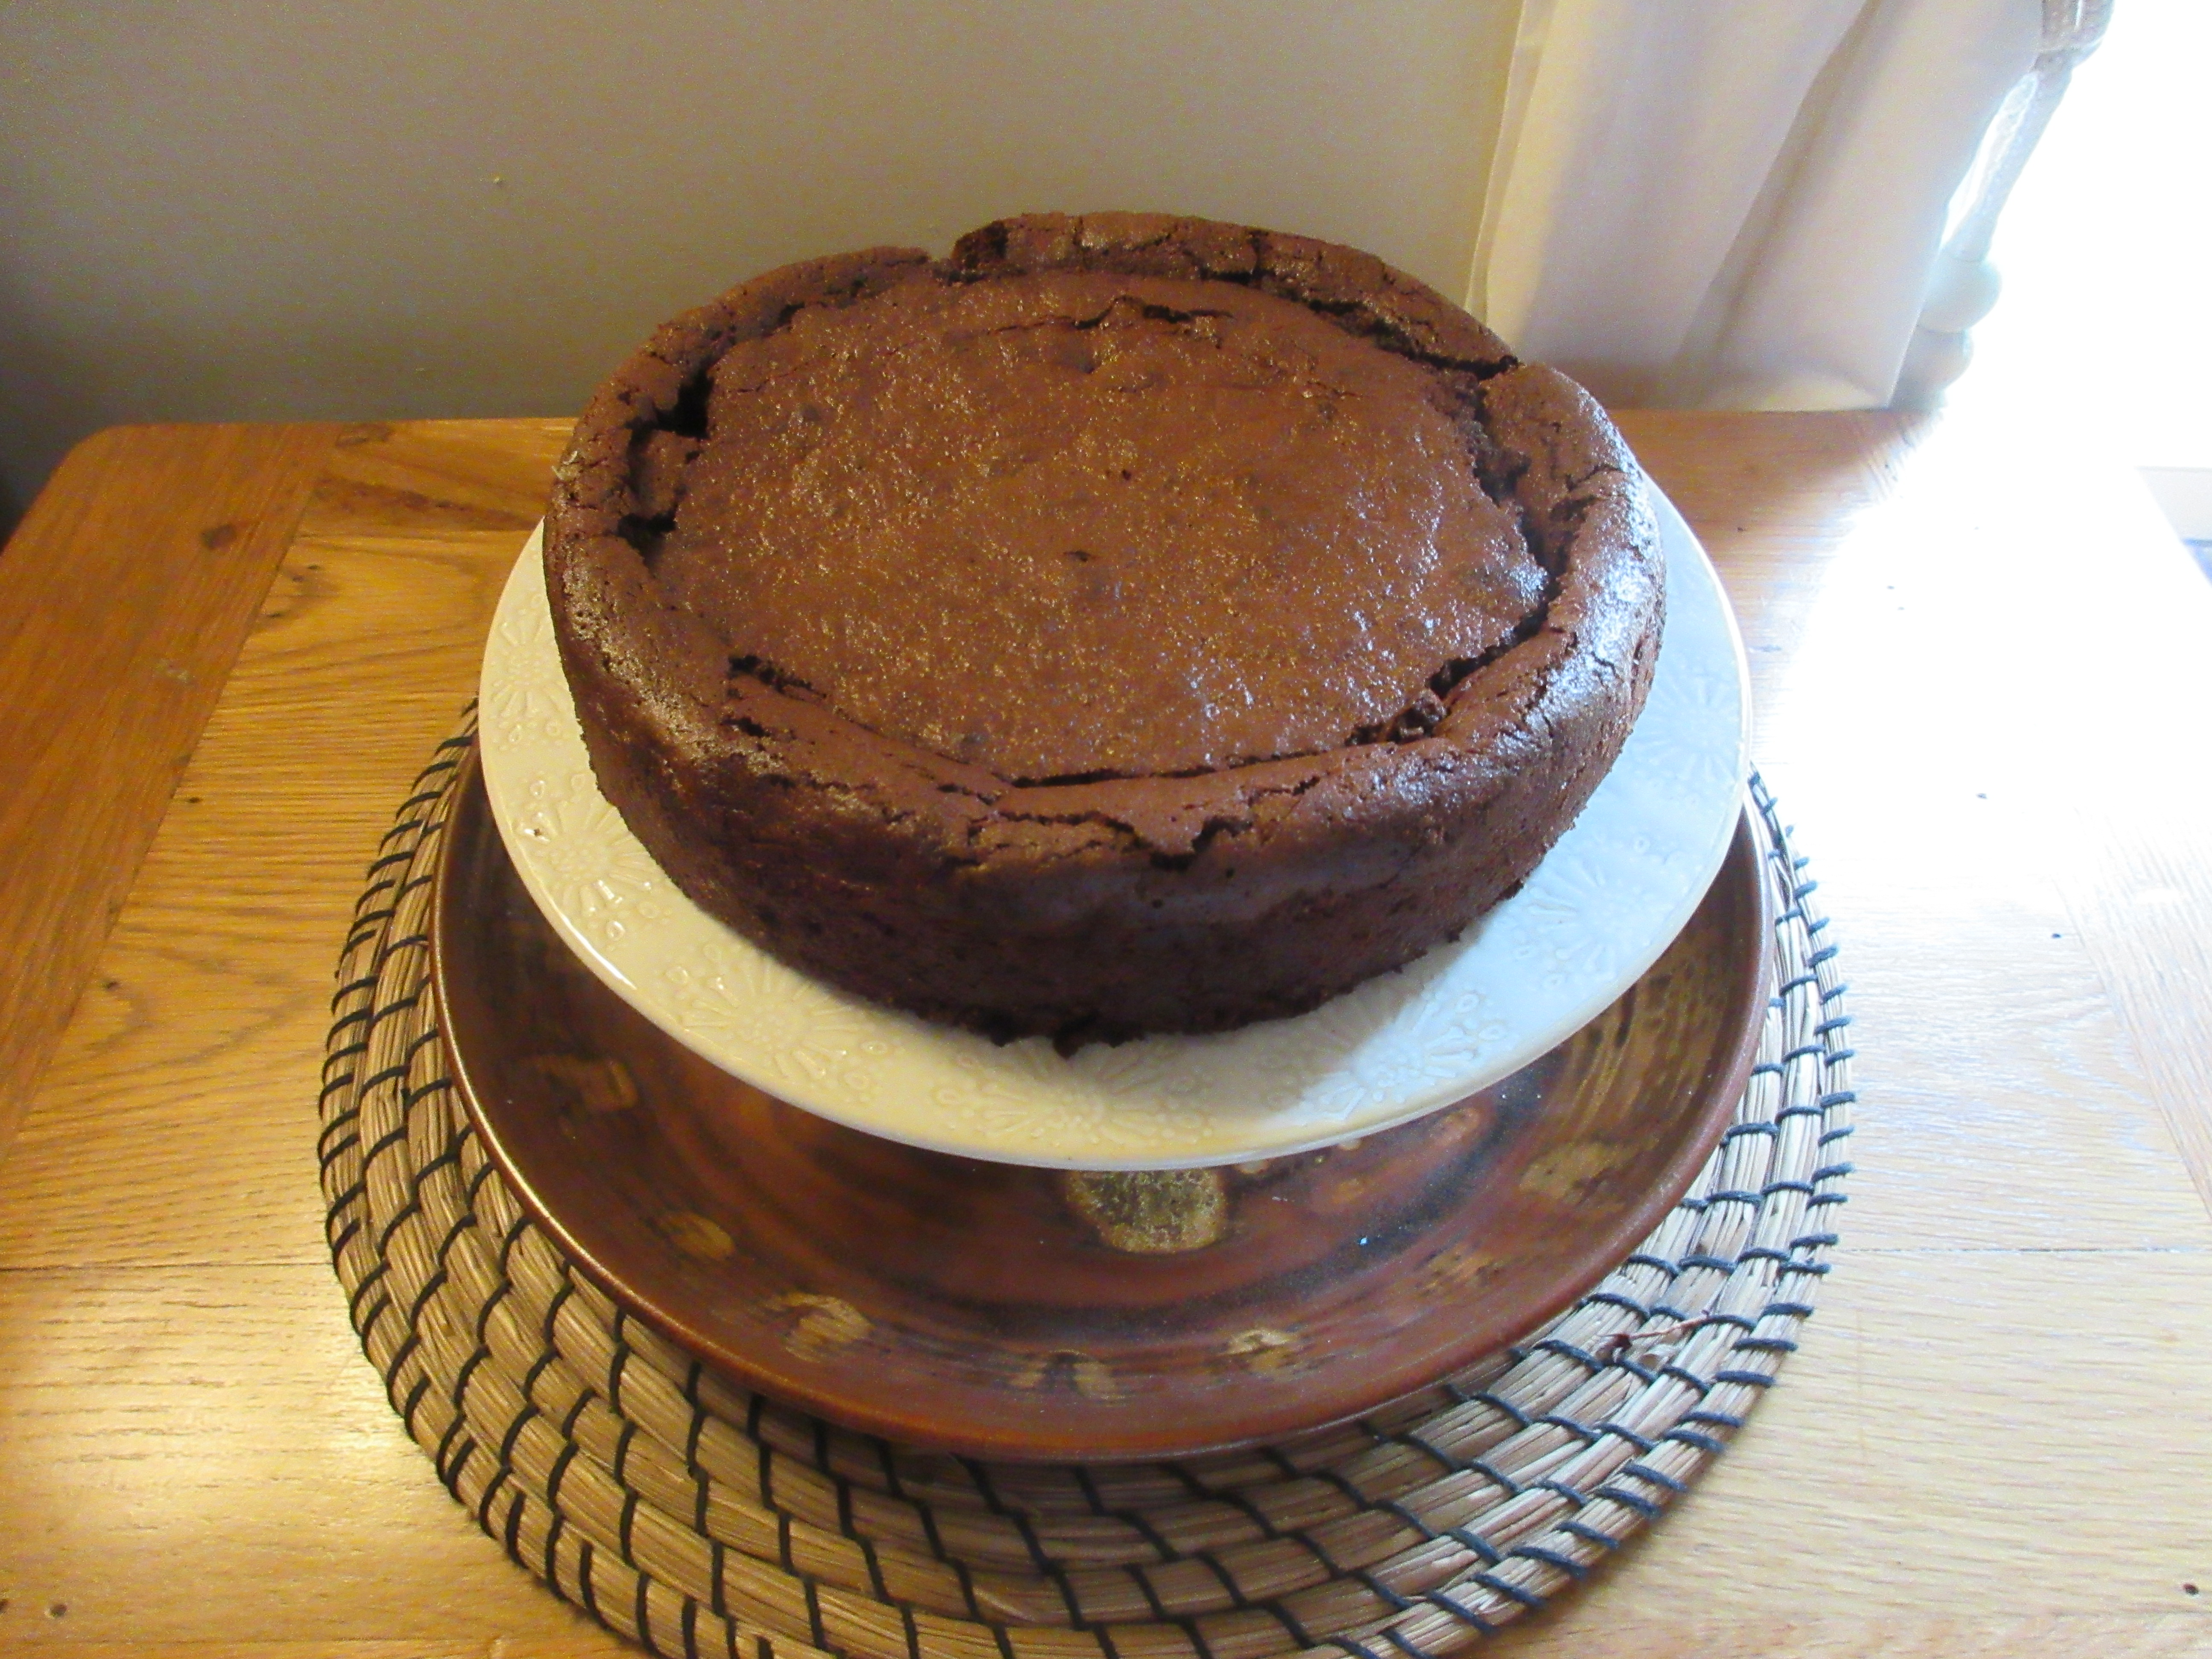
We have found our tiny Instant Pot air fryer very useful for lots of things but wouldn't claim that we can cook everything in it. We still use our main oven a lot. I don't subscribe to the theory that if you have an air fryer you can do away with the oven any more than you could manage with just a microwave, or slow cooker. I have found that different kitchen gadgets are ideal for different things but I certainly don't regret getting the air fryer. I'm not sure I would attempt to bake a cake in it. If there are two items that need cooking in the oven we would use that instead of the air fryer. Horses for courses.
Do you have one and what do you use it for?
Some of the things we find it ideal for are:
Chicken fillets
Salmon fillets
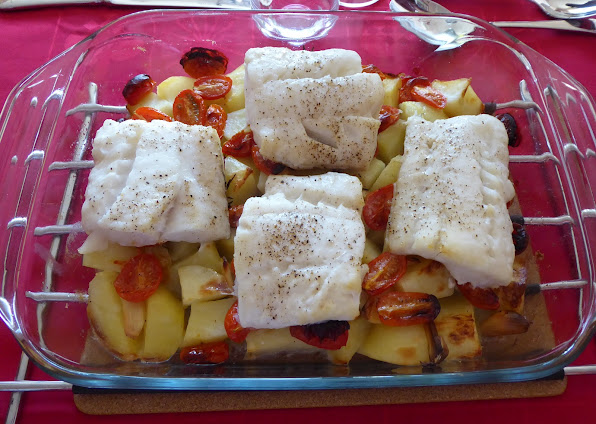
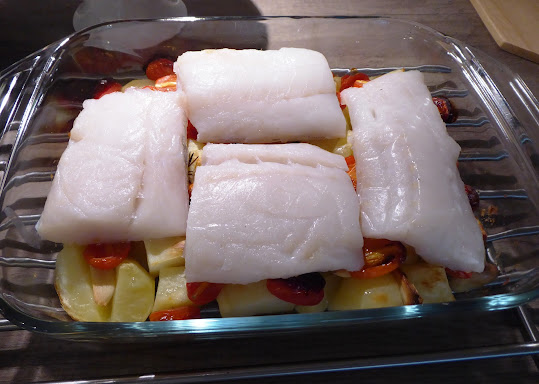
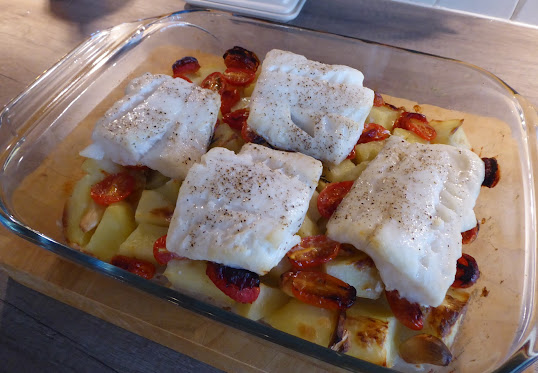
Fish fillets
Sausages, bacon and black pudding
Croutons
Frozen oven chips or sauté potatoes
Baked potatoes
Baked apples
Frozen croissants
Fish fingers
Roasted vegetables
Refreshing yesterday's baguette
Ingredients for the herby potatoes
2 handfuls of baby potatoes or any small, firm potato, washed and cut evenly to size.
spray oil
salt and pepper
dried herbs of your choice
Method
Parboil the potatoes for 5 minutes. Drain and tip into the air fryer basket.
Spray with a few squirts of oil (or drizzle with sunflower or olive oil)
Season with salt and pepper and sprinkle over a teaspoon or so of herbs to taste.
Shake the pan a few times then cook at 180C for 8-10 minutes until knife-tip tender. Shake the pan a few times during the cooking time.
Serves 2.
To make the spray oil
50ml sunflower oil (or other oil of your choice)
15ml cooled boiled water from the kettled
5ml vodka
Measure the ingredients into your oil sprayer and give it a good shake before each use as the oil and water will separate. Keep in a cool cupboard, not the fridge.