March 23, 2011

A CRACKING GOOD RECIPE


I spotted a recipe for CRACKLE COOKIES in a recipe book and thought I would like to have a go.  I haven’t made biscuits or cookies of any kind for decades.

You roll little balls of the dough in icing sugar before baking and they crack attractively.  Hmmm……how does that work, I thought.  Surely the sugar browns in the oven, doesn’t it?  However, I looked up crackle cookies on Google and all the entries had similar pictures so it obviously does work.  That was encouraging.
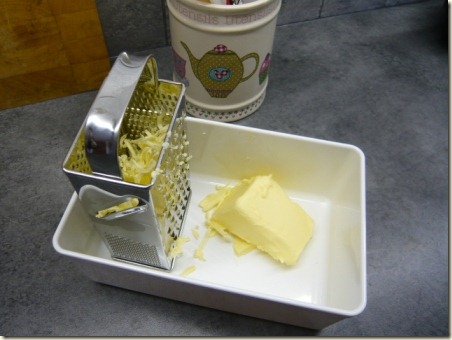
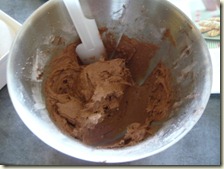
COOKIES 3These days, most recipes seem to specify “softened butter”, except of course where you rub the butter in or melt it.  Now there’s a challenge.  I have tried putting the butter on top of the radiator, microwaving it, or just leaving it out of the fridge for a while, all with variable success.  Then I read somewhere recently that the best way is to grate the butter straight from the fridge and that softens it.  This seemed like a lot of faff but actually it only took a few moments and worked a treat.  I will do that every time from now on, as I prefer to use real butter rather than the spreadable stuff from a tub.

COOKIES 2COOKIES 4

You make a fairly stiff mixture then put it in the fridge for a while.  The recipe said 3 hours or overnight.  That was going to be difficult as I had not planned for advance preparation of the mixture.  But then some other recipes on the internet said chill for only 15 minutes, so I chilled it for about 1½ hours.

My recipe then said take tablespoons of the dough, roll it into balls and it makes 60 cookies.  A tablespoonful seemed like an awful lot to me so I used dessert spoonfuls, about the size of a large walnut, and it made 40 !!

COOKIES 6

COOKIES 7

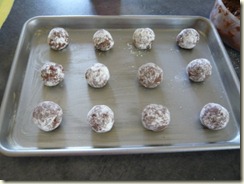
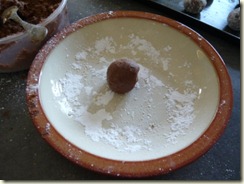
You roll the balls in icing sugar and place on greased baking trays without flattening them at all.

COOKIES 5 COOKIES 8

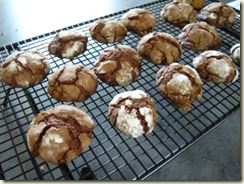
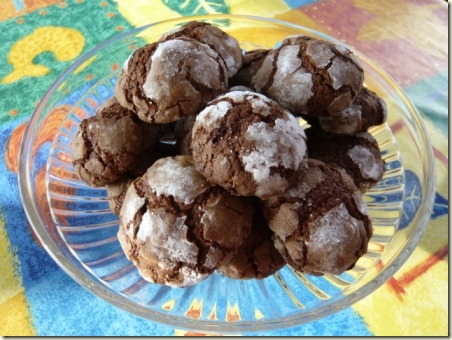
They turned out perfect – well, most of them did.  The interesting thing is that those that were baked on my  lovely Pampered Chef baking sheet spread out like biscuits.  I love this baking sheet as it is thick and almost bombproof, but obviously it cooks things differently.  The ones baked on my old cheap and nasty baking trays –( the type that goes ping in the oven within moments of putting it in as it twists and warps ) - stayed cookie-shaped and came out lovely.

Also the ones that had an unfeasibly thick coating of icing sugar retained their white crackled appearance the best.
COOKIES 9I’m sure kids would love to make these, all that rolling and getting very sticky and making a mess of the kitchen !!

They were very nice – a slightly crunchy outside and softer inside and you could definitely taste the spice and the nuts.  They were just as good three days later, too. 

Here’s the recipe for CRACKLE COOKIES

Ingredients

125 g unsalted butter, softened

370 g soft light brown sugar

1 tsp vanilla extract

2 eggs

60 g dark chocolate, melted

80 ml milk

340 g plain flour

2 tsp baking powder

2 tablesp cocoa powder

¼ tsp ground allspice (yes, only ¼)

90 g chopped pecan nuts

icing sugar to coat the cookies

Method

Beat the butter, sugar and vanilla until light and fluffy

Beat in the eggs, one at a time

Stir in the melted chocolate and milk

Sift together the flour, cocoa, baking powder and spice, add a pinch of salt

Stir into the butter mixture, mix well then add the nuts

Chill in the fridge for anything from 1 to 12 hours, depending on how long you can wait !!

Preheat the oven to 180ºC.  Grease two or three baking sheets.

Take dessert spoonfuls of the mixture, roll into balls then roll in icing sugar to give a good coating.

Space well apart on the baking sheets and bake for 20-25 minutes until firm.

Leave on the tray for 3-4 minutes then cool on a rack.

Makes 40 cookies.  They keep for a few days in an airtight tin.

March 20, 2011

KEEP YOUR EYE ON THE BALL

CAFE CAKES

I have had this book for a few years and have often fancied making the almond and strawberry friands on the front cover – they look really sophisticated, I think.

FRIA 2 FRIA 1


They contain a lot of egg whites, ground almonds, a small amount of flour and something called “icing sugar mixture”.  I looked this up and apparently it is icing sugar with 3% cornflour added as an anticaking agent.  When I inspected the small print on a packet of regular icing sugar I saw that it had some other anticaking agent added so I just used ordinary icing sugar.

That’s the thing about baking these days.  Recipes come from different continents and often the ingredients are unavailable or you have to do some research.  Google to the rescue.   

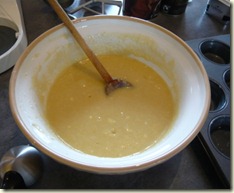
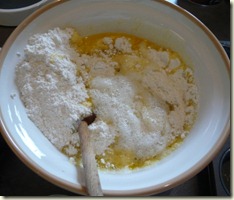
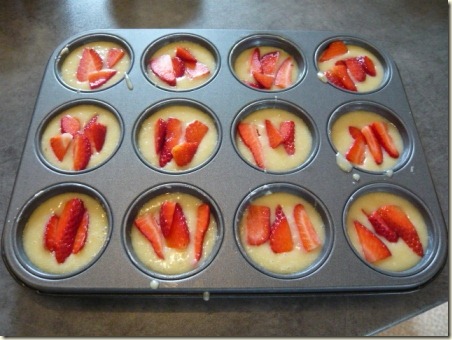
They are very simple to make.  You simply mix all the ingredients together briefly as if making muffins.  This produces a very glurpy mixture which you pour into the tin and then scatter the fruit on top.

FRIA 4

I didn’t have a friand tin, which produces slightly oval cakes, so I used a muffin tin.  I was a bit nervous about not using muffin cases, convinced that they would stick horribly to the tin and look a mess when I tried to turn them out. 

FRIA 5

Then – disaster.  The recipe book suggested a moderately hot oven, which was listed in the glossary as being 200-210º C.  This seemed rather hot but having not made them before I decided to give it a go, making the usual adjustment for a fan oven and keeping my eye on them as they cooked.  Then something distracted me and I took my eye off them for 5 minutes and they were overdone.  Damn.  This was such a shame because they looked so pretty before they went in the oven !!

FRIA 6

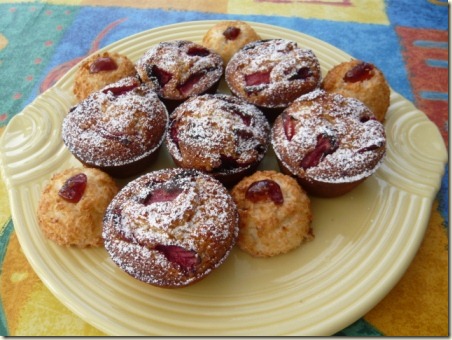
But, they came out of the tin perfectly.  Six out of the twelve looked fine so I dusted them with icing sugar and served them as planned.  The six that were slightly too dark made a very nice dessert, warmed in the microwave and served with some warm cooked strawberries and custard.

Apparently they are popular in Australia – the recipe was in an Australian Women’s Weekly cookbook – but originated in France as something called “financiers”.  They had a lovely grainy texture and almondy taste.  I will definitely make them again but cook them at a lower temperature and keep my eye on them properly.

I might even invest in a friand tin.

Here’s the recipe for ALMOND AND STRAWBERRY FRIANDS

Ingredients

185butter

125g ground almonds

6 egg whites, beaten lightly

240g icing sugar

75g plain flour

100g strawberries, sliced thinly

Method

Preheat the oven to “moderately hot”.

Melt the butter and allow to cool slightly.

Grease a 12-hole friand tin or muffin tin and stand it on an oven tray.

In a large bowl, mix together all the ingredients except for the strawberries until just combined.

Divide the mixture evenly among the prepared friand tin and arrange the strawberry slices on top.

Bake for 20-25 minutes until risen and golden. 

Cool in the tin for 5 minutes then turn out onto a wire rack.

Dust with icing sugar when completely cool.

March 15, 2011

CHOCOLATE FINGER CAKE

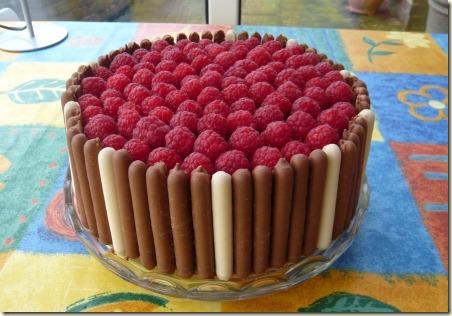
I decided to make a cake for my mother-in-law’s birthday and I remembered seeing this stunning cake on TV.

CHOC 9

It’s from Lorraine Pascal’s TV series and book called “Baking Made Easy” and she made it with chocolate cigarillos around the outside.  I looked for these in the supermarkets and couldn’t find them.  When I looked them up on the internet they seemed very expensive so I decided I would probably never make this cake.  Then I read the bit about using Cadbury’s chocolate fingers instead of cigarillos – a much more affordable alternative.

Lorraine calls the cake “I Can’t Believe You Made That Cake”, saying it gets such a reaction from other people.  I’m going to call it CHOCOLATE FINGER CAKE.   

CHOC 1CHOC 2

CHOC 3

CHOC 4

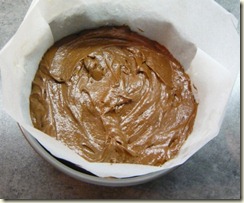
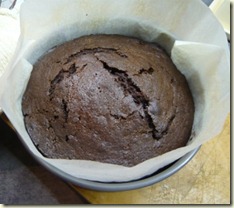
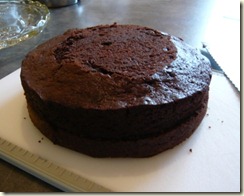
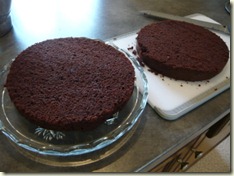
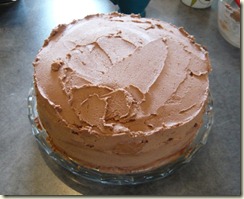
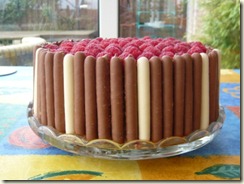
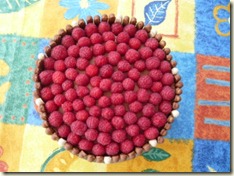
You make the cake in the usual way, then cut it in half, slice the rounded top off, turn it upside down so the top is perfectly flat.  Then sandwich the two halves together with a layer of buttercream, spread the rest of the buttercream over the top and sides.  Then fix the chocolate fingers (or cigarillos) to the side of the cake, simply by pushing them into the buttercream.  (It was Nick’s idea to use a mixture of milk and white chocolate fingers.)  Pile or arrange raspberries, strawberries or figs into the top of the cake.

CHOC 5

CHOC 7

CHOC 10

CHOC 11

CHOC 13

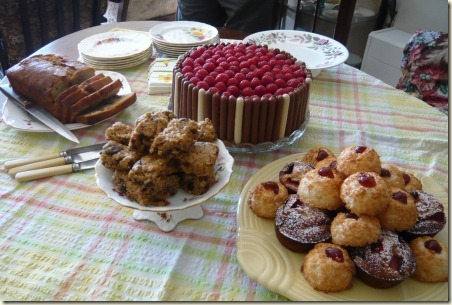
It made a very nice 87th birthday tea for my mother-in-law, Sheila.   Also on the table is a delicious honey, date and banana loaf and some flapjacks made by my sister-in-law, Kathy.  Also a batch of my coconut macaroons, with glacé cherries this time and some almond and strawberry friands.  More about those later.

CHOCOLATE FINGER CAKE

Ingredients

200g softened butter

200g caster sugar

4 eggs

140g plain flour

60g cocoa powder

pinch of salt

2 tsp baking powder

2 boxes of chocolate fingers

2 punnets of raspberries or strawberries

For the buttercream

250g softened butter

500g icing sugar

100g 70% cocoa solids dark chocolate, melted and slightly cooled

Method

Grease and line a 20  cm cake tin with baking paper and brush or spray with oil.

Preheat the oven to 180ºC

In an electric mixer, cream together the butter and sugar until creamy. 

Add the eggs and flour in two halves, beating well, until the mixture is light and fluffy. 

Spoon the mixture into the prepared tin and level the top.  

Bake for 30-40 minutes until firm and cooked.  Cool in the tin.

Whilst the cake is baking, start the buttercream.  Melt the chocolate, either in a microwave, in a bowl over a pan of simmering water, or in a small saucepan (if you are very careful).  Allow to cool.

Whilst the chocolate is cooling, beat the butter and icing sugar together until light and fluffy.  Then mix in the melted chocolate. 

To finish the cake, remove the sponge from the tin and split into two.  Slice off the top then turn the cake upside down so the top is the flattest surface.  Sandwich the two halves together with a layer of butter cream.

Spread half of the remaining buttercream on the top and sides of the cake then refrigerate for an hour.  Spread the rest of the buttercream over the first layer.  It doesn’t have to be too smooth and even because it will be hidden by the chocolate fingers and the fruit. 

Fix chocolate fingers to the sides of the cake just by pushing them gently into the buttercream so that they sit at the bottom of the cake and stand up above the top, a bit like a garden fence, to make a well for the fruit.

Either tumble fruit into the well or arrange them prettily, as you like.  Raspberries and strawberries look great.  Sliced peaches would also work - or anything that goes with chocolate.

If you can bring yourself to destroy the beauty of the cake, cut it into 10-12 slices !!

If you would like to see Lorraine’s original recipe, click here.

March 10, 2011

THAT SINKING FEELING

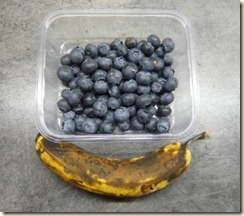
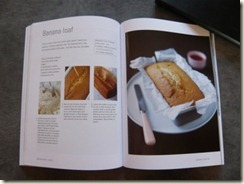
I hate wasting anything and the sight of a couple of elderly bananas in the fruit bowl makes me feel guilty. If they’re past the eating stage then something has to be done with them. A browse through some of my cookbooks produced a Mary Berry recipe for BANANA LOAF from a book called “Simple cakes”.  (The recipe also appears in here more recent book, the Baking Bible.”)

banana loaf 1banana loaf 5

The recipe didn’t have any blueberries in it, just bananas, but as they were also looking slightly tired I decided to put a handful into the mixture to make a banana and blueberry loaf.

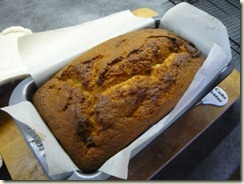
It was definitely simple to make and it turned out looking exactly like the picture in the book – which always makes me feel slightly chuffed.

banana loaf 2banana loaf 3

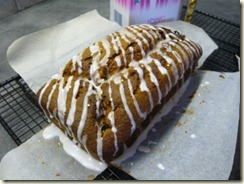
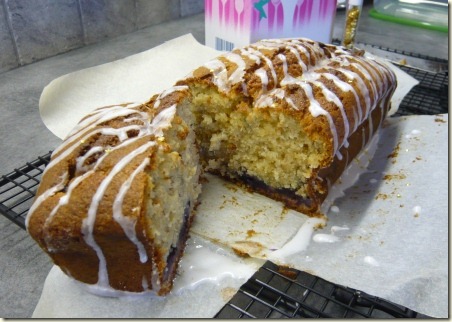
I drizzled some icing onto it and scattered a few gold sprinkles on top just to jazz it up a bit. However, when I cut the first slice I was disappointed to find that most of the blueberries had sunk to the bottom.

banana loaf 4

Ah well, that will teach me to be so clever.  Perhaps next time I’ll leave the blueberries out, but it tasted lovely anyway. Here’s the recipe for

BANANA AND BLUEBERRY LOAF 

Ingredients

100g softened butter (I used spreadable butter from a tub)

175g caster sugar

2 eggs

2 ripe bananas

a handful of blueberries

225g self-raising flour

1 teaspoon baking powder

2 tablespoons milk

Method

Preheat the oven to 180°C. Grease and line a loaf tin.

Mash the bananas then put all the ingredients except the blueberries in a large bowl and mix together for about 2 minutes until well blended – an electric whisk or mixer is best for this. You can beat with a wooden spoon but for a little longer.

Add the blueberries and combine until evenly distributed.

Spoon the mixture into the loaf tin, level the top and bake for about one hour until well risen and golden.

Cool in the tin for a few minutes, then remove and peel away the paper. Leave on a wire rack to cool completely.

Decorate with icing and sprinkles if you feel frivolous.  Otherwise just cut a large slice and enjoy with a cup of tea !!

Cuts into 10-12 slices.

March 8, 2011

QUICK MUFFINS

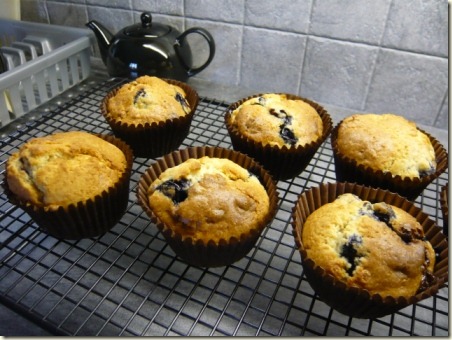
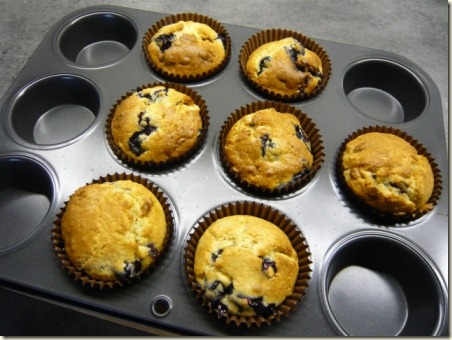
I don’t make muffins too often but I spotted this recipe for BLUEBERRY AND WHITE CHOCOLATE MUFFINS  and was tempted to have a go.  The original recipe had only half a teaspoon of baking powder which didn’t sound much so I doubled it.  It also requires chopped white chocolate but as I had a packet of white chocolate chips in the cupboard I decided to use that, which was even quicker.  They turned out fine. 

muff2 

muff5muff4

When making muffins I always find it hard to resist beating the mixture to death.  Leaving it lumpy just doesn’t sit comfortably with how I was taught to make cakes by my mother, who would beat and beat until everything was beautifully fluffy.

muff3 

Here’s my version of BLUEBERRY AND WHITE CHOCOLATE MUFFINS

Ingredients

150 g plain flour

50g caster sugar

1 tsp baking powder

a pinch of salt

1 egg, beaten

50g butter, melted and cooled

100 ml milk

75 g blueberries

75 g white chocolate, chopped into smallish pieces, or chocolate chips

Method

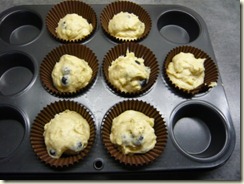
Preheat the oven to 200º C (180º fan) and put 6 muffin cases into a muffin tin.  (I found the  mixture made 7 easily and they are quite filling.)

Mix together the flour, baking powder, salt and sugar in a large bowl.

Add the butter, egg and milk and mix together quickly.  Add the fruit and chocolate and mix in as briefly as possible, avoiding over-mixing, as long as there are no dry bits of flour.

Divide the mixture between the muffin cases and bake for approx 25 minutes until risen and golden. 

Cool on a wire rack.

Makes 6-7 and will keep for a day or so in an airtight tin.  (Muffins are best eaten as fresh as possible.)
March 1, 2011

COCONUT MACAROONS

mac 10

After reading Elizabeth’s post here, I was dying to have a go at making these little beauties myself.

It’s years since I ate any, possibly decades. I remember how scrumptious they were and I do remember making them. Not at home with my mother but probably in DOMESTIC SCIENCE at school. Does anyone else remember domestic science? I remember my very first lesson, after which we had to write an essay entitled “how to look after your dishcloth”. I have never forgotten how to look after my dishcloth, or any of the other basic principles of kitchen hygiene.

My domestic science teacher was called Mrs Stafford. She seemed very old then, although she was probably much younger than I am now. She maintained control of her class by making one pupil a teacher’s pet and the life of another a total misery. The theory being, I presume, that if the girls didn’t behave, their lives could be made a misery as well. I was the unlucky one and she criticised everything I did, making me so nervous that I couldn’t do anything right and my cakes always turned out overdone or sad and soggy. She declared me a complete disaster in the kitchen, in front of all the others, on more than one occasion and told me I would never make a good cook.

I gave up domestic science as soon as I possibly could when choosing subjects for O’level. I decided to take CSE needlework instead. To my absolute horror, the teaching staff had a shuffle round over the summer holidays and I ended up in Mrs Stafford’s class again. Only this time round I was teacher’s pet, thank goodness.
The upshot of all this is that it is probably 45 years since I last made coconut macaroons.

mac 7

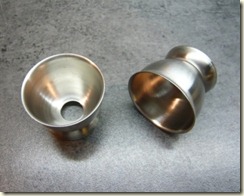
Before I could start, I needed a recipe and some specialist equipment.  I Googled it and came up with three recipes that appealed to me. I then paid a visit to town to track down some stainless steel eggcups - with the all-important hole in the bottom. I drew a blank there so it was Ebay to the rescue !!

mac 3 mac 4

mac 5 mac 6

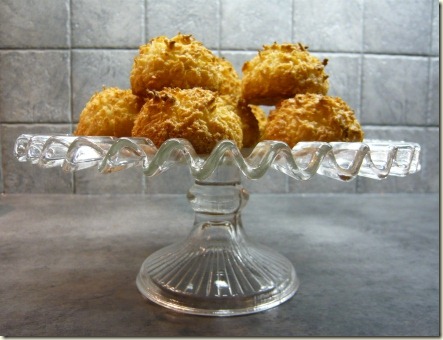
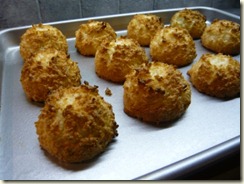
Once they were baked, I thought the little dent in the top of each one would have been an ideal spot to place a glacé cherry. Next time, perhaps.

  mac 9

I used a recipe I found on the BBC Food website and modified the method slightly. I adjusted it to fit in with what seemed right to me, crossed my fingers and put them in the oven – always a nervous moment but they turned out lovely.

Ingredients

2 egg whites

100 gm caster sugar

160 gm desiccated coconut

Method

Preheat oven to 180ºC

Grease a baking sheet and line it with baking parchment.

Whisk the egg whites until slightly frothy.

Whisk in the sugar then the coconut until it is all combined into a sticky mixture.

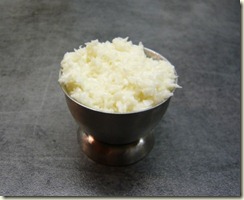
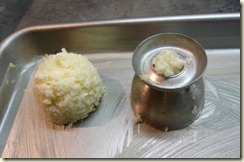
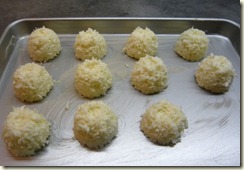
Either form the mixture into little mounds with your hands or press it into an upturned eggcup and then push it out, using the hole in the eggcup, to get a neater result.

Bake for 12 – 15 minutes until golden brown.

Lift off the paper whilst still warm and cool completely on a wire rack.

Makes 10 – 12. They will keep in an airtight jar or tin for a few days.