May 30, 2012

BETTER LATE THAN NEVER

I have run out of time to take part in the May Random Recipe Challenge from Dom at Bellau Kitchen.  Friands9cI selected a book at random early in May.  It was a book of recipes for whoopee pies and cupcakes and the first recipe in the book was for a “classic victoria sponge whoopee”.  Perfect. 
Then life got hectic.

randomrecipes

A few gruelling weeks at work for me combined with working abroad for Nick and suddenly I found myself in headless chicken mode, trying to juggle life at work with life at home and getting ready to go on holiday.  My spare time for baking ran out and I gave up the idea of taking part.  But not entirely.

I brought the recipe book with me to France, which is where I am now, just in case, and in the hope that I would find the time to bake before time ran out to take part.  But, when I opened the book again, I couldn’t face attempting something as fiddly as a whoopee pie.  I have no idea what one is, having never seen one before, never mind eaten one.

So that was that.

Except that I now have quite a library of cookbooks in our French house, mainly duplicates of books that I have in the UK and can’t live without here.  So I thought I might look for something easy to do and picked out this book by Louise Pickford.
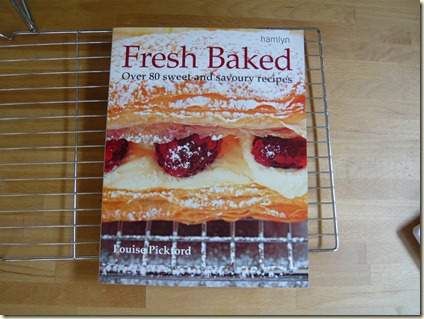
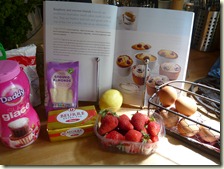
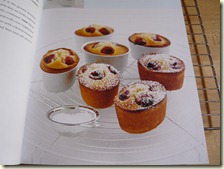
Friands3 The first few recipes in the book are instructions for making pastry and so on.  The first actual recipe is on page 28 and is for raspberry and coconut friands.  Perfect.

Except that when we did a quick “smash and grab” shop at the supermarket in Descartes just before they closed for lunch on Sunday, bearing in mind they would also be closed on Monday for the French bank holiday, I didn’t see any raspberries but picked up a small box of strawberries instead.  So this is how I came to be baking strawberry and coconut friands.

Friands5 Friands4

Friands are lovely little cakes made principally with ground almonds in special oval friand tins.  I do possess a silicone pan in the classic oval friand shape but of course that is back in England.  So I made round ones using a muffin tin.

Friands6 Friands7

They are extremely easy to make.  You simply whisk the egg whites until foamy, combine with the dry ingredients, fill the tin, scatter the fruit on top and bake.

Friands8 Friands9

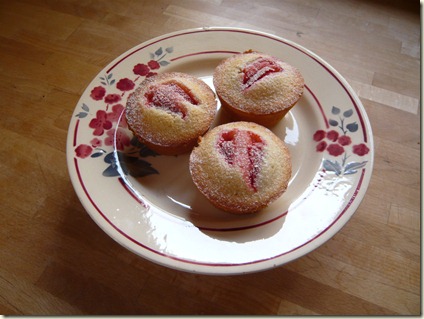
I presented mine dusted with icing sugar and served on a sweet little dish I bought for 3€ at a vide grenier on Sunday.  (a vide grenier is the French equivalent of a car boot sale and I could have bought a whole dinner service of chipped crockery in the same pattern, including a soup tureen, sauceboat saucer – no sauceboat -  and three cake stands, but decided just the one cake stand was probably enough.)

Friands1They looked pretty good without their dusting of icing sugar but I decided to dust as per the recipe.  I gave one to our neighbour, Mme André, who declared them a hit and suggested I should have a stall on the market.  Praise indeed.
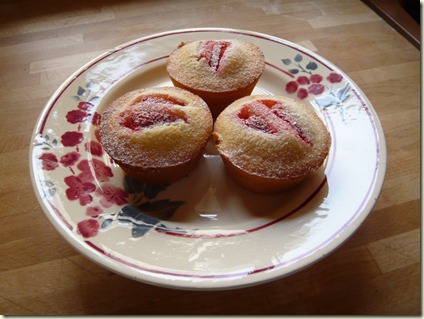
Friands2 Strawberry and coconut friands.

Ingredients

175g unsalted butter

75g plain flour

200g icing sugar

125g ground almonds

50g desiccated coconut

grated rind of 1 lemon

5 egg whites

a handful of strawberries, washed, hulled and sliced

Method

Preheat the oven to 200°C/180°fan/gas mk 6.  Lightly oil ten friand moulds or ten holes of a muffin pan.

Weigh chunks of the butter into a small saucepan and put on a gentle heat to melt.

Sift the flour and icing sugar into a large bowl.  Stir in the ground almonds, coconut and lemon rind.

In a separate clean bowl, whisk the egg whites until frothy and then fold into the flour mixture.

Add the melted butter and stir well until thoroughly combined.

Divide the mixture evenly between the ten muffin or friand moulds.  Drop strawberry slices on top of each friand.

Bake for 18-20 minutes, until the cakes pass the skewer test.  Cool in the tin for 5 minutes.  Run a knife around each friand to loosen from the tin and lift out gently.  Cool on a wire rack.

Dust with icing sugar before serving.

Makes 10 friands.

May 21, 2012

SPANISH CHOCOLATE CAKE

spanish cake5 The magazines are full of Jubilee celebrations and recipes for garden parties at the moment.  I therefore thought it curious that in my Sainsbury’s magazine there should be a feature of recipes for a “Spanish picnic”.  Especially since one of the items on the menu was soup.  Chilled soup of course, but for a picinc ?!

spanish cake1

As May seems to have been one of the chilliest months of the year so far, we actually had an open fire going when I was flipping through the magazine.  Open fires are definitely the thing to cheer me up on a cold Saturday evening when I am stuck indoors seeing the light nights slip by because it is too wet or cold to be outside doing anything.  It would have to warm up an awful lot before this house held a garden party.

Anyway, one of the recipes in the “Spanish picnic” feature was for “Spanish chocolate cake”.  Presumably it was the orange, almonds and olive oil that qualified it for being Spanish.  I was on the lookout for something to make for this month’s We Should Cocoa challenge and my dad was off to his model engineering club the next day, so this would do nicely for him to take with him to go with a mug of tea with his mates.

We_Should_Cocoa_Logo We Should Cocoa is the monthly baking challenge organised by Choclette of Chocolate Log blog and her new co-organiser, Laura of How to cook good food.  This month the idea was to include almonds with the chocolate so as a change from my usual flourless chocolate cake, the chocolate orange combination seemed just the thing.

 spanish cake2 spanish cake3

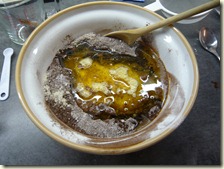
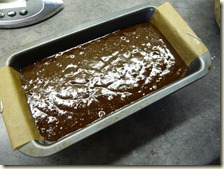
It was very quick to make.  The chocolate flavour comes from cocoa powder, not melted chocolate, which is a relief.  (Melting chocolate always makes me nervous, for some reason.) You just mix all the ingredients together and pour into a lined loaf tin.  It was a very glurpy and glossy mixture.  It took a long time to bake – over an hour.

spanish cake4I had plans to decorate the top with drizzles of orange water icing and a scattering of those lovely orange flavoured chocolate buttons.   Part way through I realised this was not going to be possible.  The cake rose and cracked volcanically so unless I was trying to pass it off as a “Spanish mountain landscape with orange rivers and lakes” cake, the icing option was definitely not on.

In the instructions it said to cover the cake with a sheet of baking paper after 50 minutes.  I have tried this before with my fan oven and it doesn’t work – the paper tends to lift off.  So I wrapped the whole thing in a sheet of foil instead.

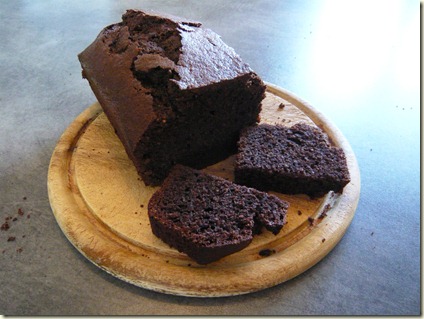
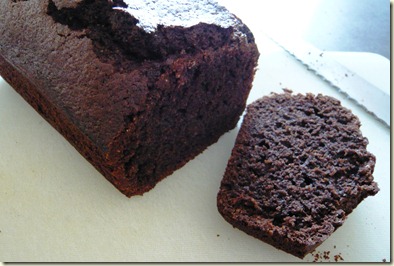
 spanish cake6 The cake was quite unlike anything I had baked recently.  It had a very close, even and grainy texture, possibly something like a Madeira cake, but a lovely chocolate and orange flavour.  It wouldn’t do as a glamorous centre piece for a special event but it would be perfect for a picnic, handed round in chunks along with a bowl of strawberries for people to dig into at the same time.

I gave most of it to my dad for his mates at the club but held back a few slices for “quality control”.  Three days later I remembered which box I had put them in and the cake was still beautifully moist and delicious.  If I ever need to go to a picnic or other event where I might want to hand around pieces of cake that won’t stick to your fingers or fall apart, and can be made a few days ahead, this will be the one.

Here’s my version of Spanish Chocolate Cake.

Ingredients

125g plain flour

50g cocoa powder

2 tsp baking powder

¼ tsp salt

100g ground almonds

175g caster sugar

3 large eggs

200 ml olive oil

the zest and juice of 1 large orange

1 tsp vanilla extract

Method

Preheat the oven to 180°C/160°fan/gas mk4.

Line a 1kg loaf tin with baking paper and brush with a little olive oil.  (I greased mine with butter as usual and it was fine.)

Sift the flour, cocoa powder, baking powder and salt into a large mixing bowl.  Stir in the ground almonds and sugar.  Make a well in the centre.

Beat the eggs.  Add to the bowl with the rest of the ingredients and mix well until thoroughly combined.

Pour the mixture in the oven and bake for a total of 60-70 minutes. BUT, after 50 minutes, remove the cake from the oven and wrap in a sheet of foil.

When the cake is cooked, remove from the tin and paper, and cool on wire rack.

Cuts into 12 slices or chunks and will keep for several days in an airtight container.

May 17, 2012

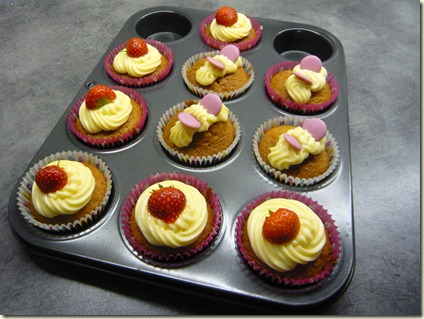
ROSE AND STRAWBERRY CUPCAKES

stork6

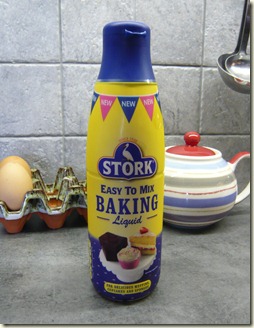
I saw this product on the shelf in the supermarket a while ago and couldn’t resist it – Stork baking liquid.

stork1 According to the information on the pack you can use this liquid Stork in any recipe where you would use Stork or butter in your cakes and muffins.

I am quite happy to use margarine in baking.  In fact my mother never baked with butter – she considered it far too extravagant.  Cakes were made with margarine and pastry with lard, so I am used to the different flavour – I wouldn’t consider it inferior to butter, just different.

Nowadays, I bake with butter most of the time because I can afford to, but do use soft margarine in cakes when it’s appropriate, especially for a large batch for a cake sale when it saves a little time in the mixing.  But a liquid……..?

stork2 stork3

Anyway, the bottle had been lurking in the fridge for a while and I was just waiting for the right moment and the right recipe to try it.  Then Nick announced that they were having a charity cake sale at work so could I “rustle up some cakes”? – no problem !!

I decided to look on the Stork website and chose a recipe for strawberry cupcakes.  You can see the original recipe here.  Curiously, there is a tablespoon of jam in the ingredients but it’s not exactly clear from the recipe what you should do with it.  I assumed you should put it in the cake mixture with the other ingredients, so that’s what I did.

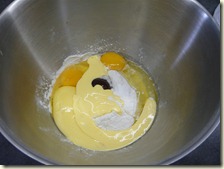
Adding the liquid to the bowl as I weighed out the ingredients was tricky – I soon realised that each small squirt weighed quite a lot so I was careful not to squirt too strongly and overdo it.

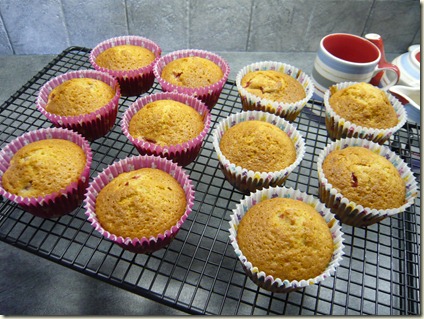
stork4 The cakes turned out beautifully and without a doubt, the liquid Stork made them incredibly easy to “rustle up”.  The mixture only stretched to eleven, though.

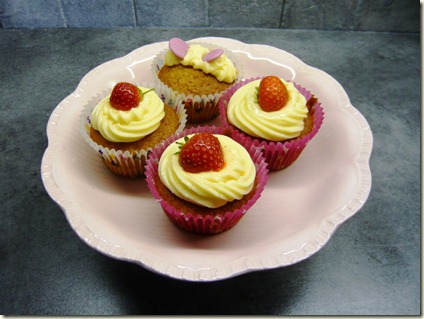
When it came to icing them, I decided to use butter icing.  On the Stork website there was a recipe for coffee cake where you make butter icing using the Stork liquid.  So I used that but adapted it by adding rosewater essence instead of coffee.

I had been trying to think how I could make something for Teatime Treats baking challenge, hosted by What Kate Baked and Lavender and Lovage.  This month the theme is for something floral hosted by Karen, so my rose and strawberry cupcakes should hopefully fit the bill.

The butter icing was very yellow in colour but the rose flavour came through just enough to realise it was there so I was pleased.

stork5

Here’s my adaptation of the recipe for rose and strawberry cupcakes using Stork liquid:

Ingredients

For the cakes:

140g self raising flour

½tsp baking powder

115g caster sugar

115g Stork baking liquid

2 eggs

1tblsp strawberry jam

55g fresh strawberries

For the icing:

225g icing sugar

55g Stork liquid

1-2 tblsp rosewater essence

extra strawberries or pink strawberry chocolate buttons for decorating.

Method

Preheat the oven to 180°C/160°fan/gas mk 4.  Put 11 (or 12) cupcake cases in a muffin tin.

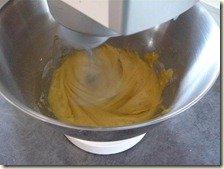
Sift the flour and baking powder into a large mixing bowl.  Add all the other cake ingredients, except for the strawberries, and beat together until smooth. 

Wash, dry and hull the strawberries and chop each one into about 6 pieces.  Fold into the cake mixture.  Fill the cake cases as evenly as possible.

Bake for 20-25 minutes until golden and risen and firm to the touch.  Remove from the tin and leave to cool on a wire rack.

While the cakes are cooling you can make the butter icing.  Sift the icing sugar into a large bowl and weigh in the Stork liquid.  Add one tablespoon of rosewater essence and beat until smooth and fluffy.  If it seems a little too stiff, add more rosewater a little at a time.

Pipe swirls of icing on each cake and decorate with small whole strawberries or those cute little pink strawberry flavoured chocolate buttons that come in little packs for cake decorating.  You could of course let your imagination run riot and use flowers, glitter, hundreds and thousands or coloured sugar instead – the world is your oyster in cake decorations these days !!

Makes 11 cupcakes, or 12 if you’re very careful.

May 10, 2012

WHITE CHOCOLATE AND CHERRY SQUARES

white chocolate and cherry squares2

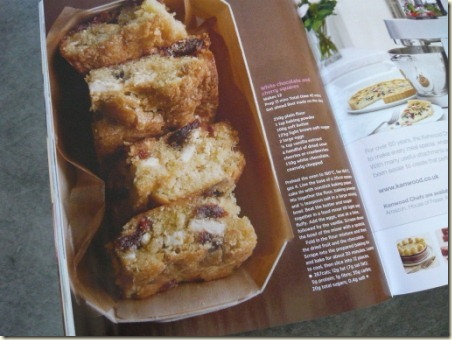
There was a Nigel Slater recipe in April’s edition of Sainsbury’s magazine that I had an urge to bake.  It was for white chocolate and sour cherry squares.  I happened to have a packet of dried sour cherries in the cupboard, bought ages ago for some recipe that I never got around to doing, and they needed using up.

Excuse for baking number 34c.

white chocolate and cherry squares3The squares looked lovely in the picture and they seemed to turn out nicely but after even a few hours they were becoming very dry and the next day they were hard as rock.  So hard that I actually threw them out, which is unheard of in this house.  Most baking disasters can be rescued with some custard or ice-cream, but these were well past any hope at all.  Interestingly, the recipe did hint that they should be eaten on the same day as they are baked.

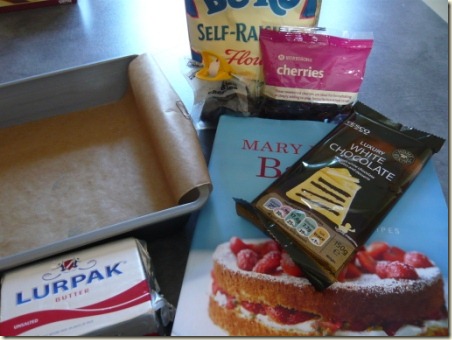
Anyway, I really liked the combination of the white chocolate and sour cherries in the squares when they were still edible, and there were a few left in the packet, so I decided to have another go.  This time I decided to adapt a Mary Berry traybake recipe, using the one for sultanas and orange, substituting the white chocolate and cherries instead.

white chocolate and cherry squares4

I hadn’t got quite enough sour cherries left in the packet and couldn’t find any more in the local supermarkets so I used sweetened dried cherries to make up the quantity.

white chocolate and cherry squares5 white chocolate and cherry squares6

Mary Berry’s recipe says to take the part-baked cake out of the oven and sprinkle with demerara sugar, then bake for the remaining time so this is what I did.

white chocolate and cherry squares7 white chocolate and cherry squares8

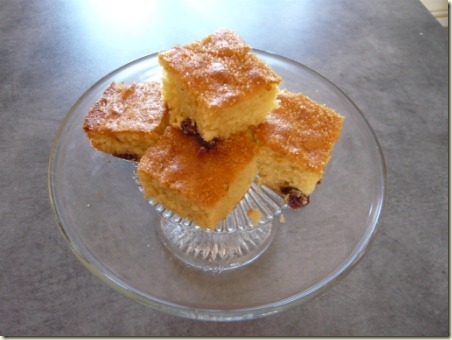
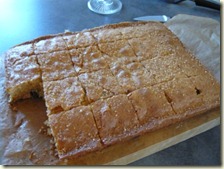
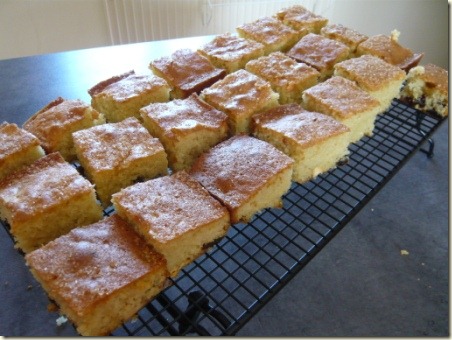
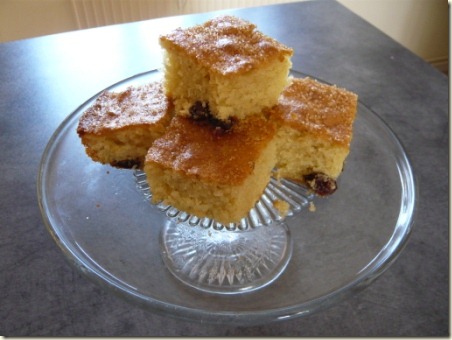
They turned out beautifully.  Moist and absolutely scrumptious.  The mixture of white chocolate and dried cherries works really well.white chocolate and cherry squares9 white chocolate and cherry squares1My dad took half of them to his model engineering club where they were devoured by the members before you could say “time to put the kettle on”.  Nick took the rest to work and his colleagues declared them a hit.  I saved a couple of squares for myself of course and can vouch for the fact that they were yummy.  Definitely worth baking again and dead easy too.

This is what I used.

225g butter at room temperature

225g caster sugar

275g self-raising flour

2tsp baking powder

4 eggs

2 tblsp milk

100g white chocolate, chopped

175g dried cherries (dried cranberries or blueberries would be nice as an alternative)

demerara sugar to sprinkle

This is what you do

Preheat the oven to 180°C/160°fan/gas mk 4.  Grease a large traybake tin (approx 30 x 25 cm) and line it with a strip of baking paper that goes the length of the tin and overhangs at each end.  Secure the ends with paper clips if you have a fan oven – this prevents it being blown back onto the cake mixture whilst baking.

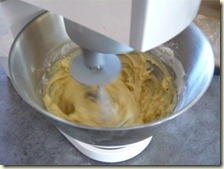
Put the butter, sugar, flour, baking powder, eggs and milk into a food mixer and beat until smooth.  Add the chocolate and cherries and combine.

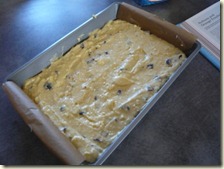
Spread the mixture into the tin and level the top.

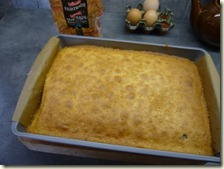
Bake for 25 minutes and remove from the oven.  Sprinkle about two teaspoons of demerara sugar on top of the cake and return to the oven.

Bake for about 10 more minutes, until the cake is golden brown and springs back to the touch.

Cool for 10 minutes in the tin then turn out onto a cooling rack.  When completely cool cut into squares.

Makes 24 squares and keeps well in an airtight tin.

May 5, 2012

GLUTEN FREE ORANGE AND POLENTA BISCUITS

polenta1

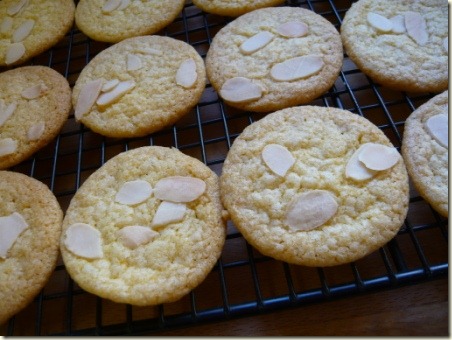
After my disaster with Jamie Oliver’s recipe for orange and polenta biscuits, then the success with the Cookie Girl’s recipe, I was interested to see how this one would turn out.  I found it in the little Hamlyn book, “200 gluten free recipes”.

 polenta2 polenta3 polenta4 polenta5

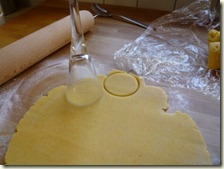
The recipe uses polenta, rice flour and ground almonds.  You make a dough, chill it for a while, then roll out very thinly before cutting into small rounds.  I didn’t have a suitable cutter in my little French kitchen so I used a small glass.
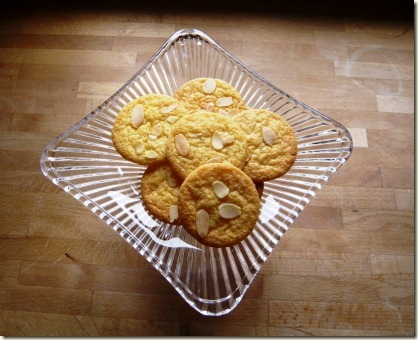
Interestingly, this is the only thing I have ever used this set of glasses for.  I spotted them in Ikea in Tours and thought they looked cute and the sort of thing we might find useful in our little French cottage.  Silly really, I would never have thought they might be useful in England.  But they were dead cheap, so that’s not so bad.

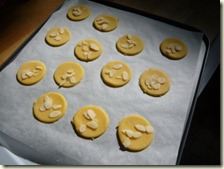
polenta6You sprinkle flaked almonds on top of the biscuits before baking and a very few minutes later they are done.

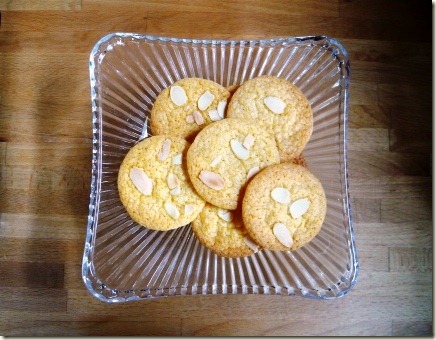
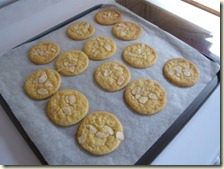
And absolutely lovely they were too.  Thin, crispy and very moreish.  In fact the last few were still very crispy two days later – we munched on them on our way back home to England.

polenta7Whether you need a gluten free recipe or not, this one is a winner if you like a light, crispy biscuit that is not too filling.  Perfect with morning coffee or your cup of tea in the afternoon.  Luckily the recipe makes a large batch because as they are so thin and light, just a couple is simply not enough !!

This is what you need.

75g polenta

25g rice flour

25g ground almonds

½tsp cream of tartar

¼tsp bicarbonate of soda

75g icing sugar

50g butter, cubed

1 beaten egg yolk

grated rind of 1 orange

25g flaked almonds

This is what you do.

Put the polenta, rice flour, ground almonds, cream of tartar, bicarb, icing sugar and butter into a food processor.  Blitz until you have fine breadcrumbs.  Add the egg yolk and orange rind.  Process again until a ball of firm dough is formed.

Wrap the dough in cling film and chill in the fridge for 30 minutes.

Preheat the oven to 180°C/170°fan/gas mk 4.  Line two baking sheets with baking parchment.

Dust a work surface with rice flour and turn the dough out onto it.  Roll the dough out thinly and cut into circles about 4cm dia. 

Put the biscuits on the baking sheets, allowing a little room for spreading.  Sprinkle each one with flaked almonds.

Bake for about 8 minutes until golden.  Leave to cool on the baking sheets for a few minutes then remove carefully and cool completely on a wire rack.

Makes about 20 biscuits.  They keep well in an airtight tin or box.