January 25, 2014

CHOCOLATE AND GINGER PUDDLE PUDDING

  chocolate ginger beer pudding3

This is a recipe I found in one of the series of little books by the Women’s Institute, called “Chocolate Success”.

It’s for one of those self saucing puddings where you end up with a sponge on top and a sauce underneath.  The interesting thing about this one is that ginger beer is one of the ingredients.

chocolate ginger beer pudding1

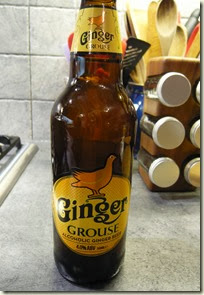
I haven’t bought ginger beer for donkey’s years and it took some finding in our local supermarket.  This was the only brand I could see.

chocolate ginger beer pudding2

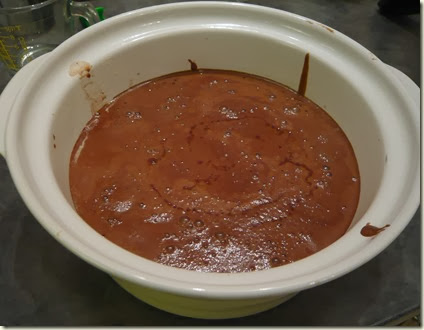
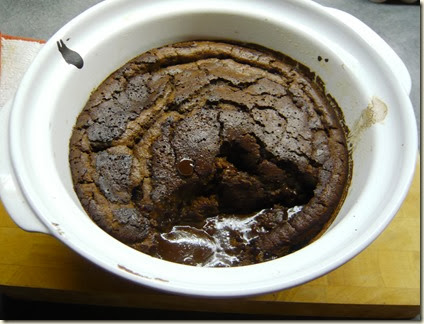
I have made a similar chocolate pudding dozens of times before, using a recipe given to me by a friend decades ago, but this was the first time I had used ginger beer in it.  The mixture was extremely runny, much more so than I remember, and I had serious doubts that it would turn out right.  But it did!

I liked the texture of the sponge and that it was not too sweet, much less sweet than my previously favourite recipe.  There was a hint of ginger from the ginger beer.  I might be tempted to add a little ground ginger to the mixture to make it even more gingery next time.
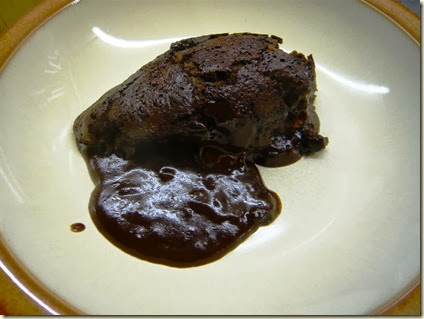
chocolate ginger beer pudding4 It’s best to serve the pudding soon after it comes out of the oven.  As time ticks by the sauce thickens and eventually solidifies, in the same way as a custard sets as it cools.

We served ours with some cream but it would be nice with ice cream or even custard.  I have to admit that I also like the pudding cold with the sauce quite set too.  It microwaves well but the sauce doesn’t really become liquid again.

We_Should_Cocoa_Logo I am submitting this post to the current We Should Cocoa Challenge, the brainchild of Choclette of Chocolate Log Blog and hosted this month by Linzi of Lancashire Food.  You can see the details here.

The theme for January is “new ingredient” and as I have never used ginger beer in anything before, this seems to qualify !!

Ingredients

For the sponge

100g softened butter or margarine (I used Lurpak spreadable)

100g light muscovado sugar

125g self-raising flour

25g cocoa powder

½tsp baking powder

2 eggs

150ml semi-skimmed milk

For the sauce

100g light muscovado sugar

25g cocoa powder

150ml boiling water

300ml ginger beer

Method

Grease a deep pie or casserole dish of about 1.4 litres.  Preheat the oven to 180°C / 160°fan / gas mk 4.

Put all the sponge ingredients except for the milk in a food processor and process until smooth.  Gradually add the milk and process to combine.  Pour the mixture into the prepared dish.

To make the sauce, put the sugar and cocoa into a medium bowl, add the boiling water and mix until smooth.  Stir in the ginger beer.

Gently pour the sauce over the sponge mixture so that it is completely covered and bake for 40-45 minutes until the sponge is firm.

Serve within ten minutes to ensure the sauce remains runny.

Serves 6.
January 19, 2014

PEAR AND ALMOND TART

I have been baking quite a few frangipane creations lately and this is another one.  In fact I have made a pear and almond tart to Laura Washburn’s recipe quite happily many times ~ I wrote about it here.  Then I stumbled across a different version by Michel Roux which appeared in the Metro and you can see it here.  I liked the sound of it because you cook the pears in a vanilla and cinnamon flavoured syrup so I decided to have a go.

pear and almond tart

As usual, I didn’t stick exactly to his recipe!  I didn’t have a vanilla pod so omitted it.  I didn’t use his recipe for making the pastry as I am really happy with the Mary Berry sweet pastry that I have made several times recently and used that instead.  I also used Amaretto in the frangipane topping instead of rum.

pear and almond tart2

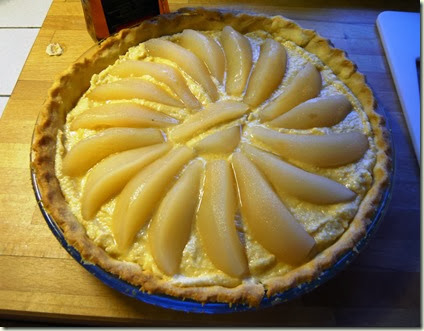
I expected the step of poaching the pears to be a bit of a faff but it wasn’t.  While they’re cooking gently you can get on with the pastry and almond topping, which is no bother at all.

I used four large pears but that produced too much for the tart so I put the leftover slices in the fridge with the poaching syrup and served them separately.  They were yummy too and we had the last few slices with some yoghurt for dessert a couple of days after the tart had all gone.

pear and almond tart3

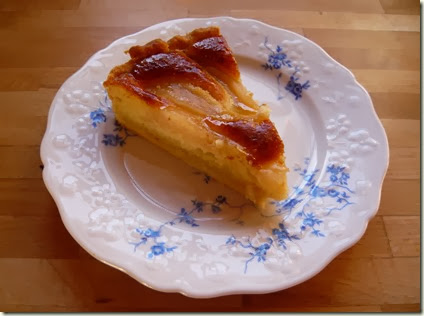
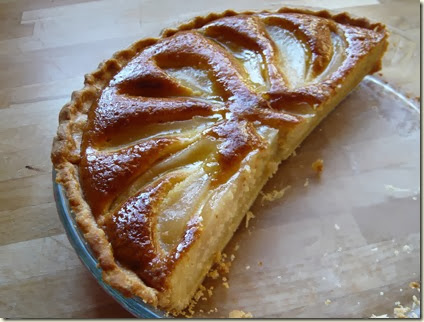
I was convinced I had taken a photo of the finished tart but apparently not so this one of half of it will have to do!  I glazed it with apricot glaze but didn’t scatter any flaked almonds on the top ~ I thought it looked better without.

(Curiously, although this scattering of flaked almonds is mentioned in Michel’s recipe, you can see clearly from the photo in the article that he didn’t either.)

pear and almond tart4

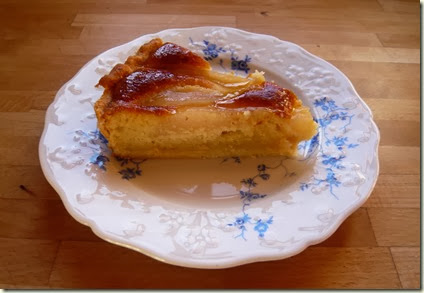
This is a stunningly good dessert and excellent served cold with a cup of tea too.  The almond topping is delicious and looks very chic with its shiny glaze.  I gave a slice to our French neighbour, Mme André and she loved it, which is always a good sign!

Tea-Time-Treats-Logosmall[1]

I am submitting this post to this month’s Tea Time Treats Challenge, hosted by Karen at Lavender and Lovage and this month Janie at The Hedgcombers blog.  The theme this month is eggs, eggs, eggs!  As the almond topping does indeed contain three eggs it seems to fit the bill!

I am also dedicating it to my friend Elizabeth over at Braye-sous-Faye.  She has to have a gluten free diet and has always struggled with producing good pastry ~ until now!

This pear and almond tart could probably be easily adapted to a gluten free version because it has no flour in the topping, and if you follow Elizabeth’s instructions for the pastry, which you can see here.  I dare say you could even make a sweet pastry version by adding a little icing sugar to the flour and combining it with egg à la Mary Berry!  (It might be worth a try anyway!) 

Ingredients

For the poached pears

3-4 large pears, peeled, halved and cored

300ml water

1 cinnamon stick

1 vanilla pod, split (optional)

250g caster sugar

For the pastry

200g plain flour

100g cold butter, cubed

25g icing sugar

1 egg, beaten

For the almond topping

125g softened butter or spreadable butter such as Lurpak

125g caster sugar

125g ground almonds

3 eggs

2 tblsp Amaretto liqueur (or rum)

2tbslp sieved apricot jam (or use Sainsbury’s apricot glaze, which is essentially sieved jam)

Method

Put the pear halves in a large saucepan with the water, sugar, cinnamon stick and vanilla pod (if using).  Bring slowly to the boil and simmer gently for 20 minutes until the pears are tender.  Drain the pears and leave to cool.  (Discard the spices but reserve the liquid for another purpose if, like me you hate to waste it.)

Make the pastry by blitzing the flour, icing sugar and butter in a food processor.  Use the beaten egg to combine it then wrap in cling film and chill in the fridge while you make the almond topping.

Preheat the oven to 200°C / 180°fan / gas mk 6.  Grease a 23-25cm flan tin or dish.

Without washing the food processor bowl, put the butter and sugar into it and process to a cream.  Add the ground almonds and combine briefly.  Add the eggs and Amaretto and process again until well combined.

Roll out the pastry to fit the tin or dish, prick the base and blind bake for 20 minutes.

Spoon the almond mixture into the pastry case and level the top.

Cut each pear half into three slices and arrange the slices on top of the almond mixture, pointed end towards the middle.  Bake for about 40 minutes until the the filling is golden brown and passes the usual skewer test for a cake.

Warm the apricot jam in a small pan with a little water and brush over the finished tart. 

Serve warm with cream or crème fraîche.  Also nice served cold with a cup of tea.

Cuts into 8-10 slices.

January 9, 2014

YORKSHIRE CURD TART (with cranberries)

Yorkshire curd tartI have not  made any New Year Resolutions this year.  It has finally dawned on me that setting myself up for failure and disappointment every year is a waste of energy and does no good at all.  The only thing I thought I would try to do is to fully grasp the practise of not wasting food, or at least wasting as little as possible.  This is not so much a resolution (therefore doomed to failure) as an expansion of current housekeeping methods.  Which brings me to a little conundrum that occurred last week. 

Yorkshire curd tart2

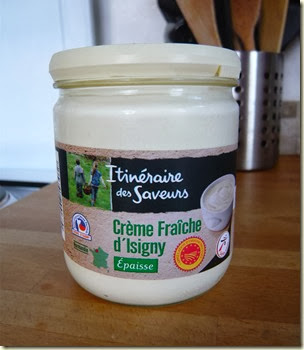
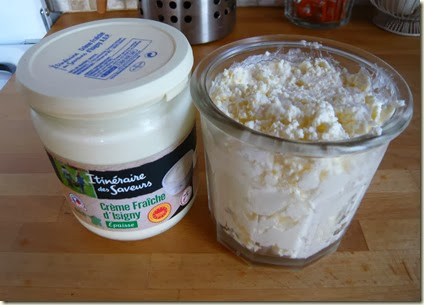
Our friends Tim and Pauline introduced us to the delights of the above product, which is similar to a clotted cream, very naughty and perfectly delicious on puddings.  So every time we come to France it’s one of the basic items in our first shopping basket.

Yorkshire curd tart3So we were a little put out when, on opening the jar, we found that it had curdled and looked nowhere near as appealing to dollop on our puds as it should have done. ( The jar on the right is the offending product, the jar on the left is a fresh one we bought to replace it.)

It was our fault, of course.  The little fridge in our little French kitchen was the cheapest we could get when we equipped the place and the temperature control is not the most effective to say the least.  Somehow the fridge had been set to be extra cold and we think this caused the crème fraîche to split.

So I looked at it and thought that it looked like curds and whey.  Wondering what on earth I could do with it, I thought of a Yorkshire curd tart, something I haven’t eaten for an awfully long time, and have certainly never made.  Partly because you can’t buy curds in our local supermarkets, or at least, none that I have ever seen.

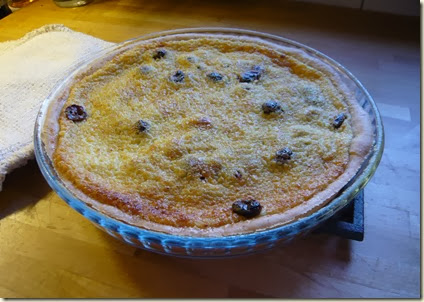
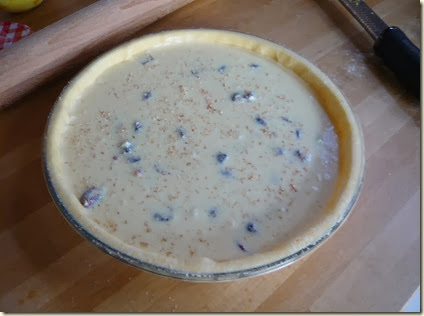
Yorkshire curd tart4I found several recipes on the net but most of them had instructions for manufacturing your own curds from milk and lemon juice.  In the end I found one that used real curd cheese but for tarlets.  I followed the recipe but made it into one large tart instead, using the Mary Berry pastry recipe from my frangipane mince pies!

The other change I made was that I didn’t have any currants (I have never seen currants in a French supermarket) but I did have a few dried cranberries, the leftovers purchased for some long forgotten recipe, lurking at the back of the cupboard and slightly past their sell-by date. 

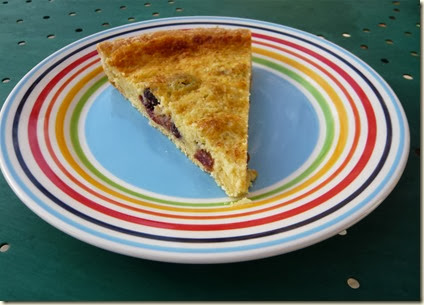
Yorkshire curd tart6The tart turned out to be delicious.  We had invited our friends Tim and Pauline round and, as former residents of Yorkshire, they declared that it was fairly authentic in both flavour and appearance compared to a proper Yorkshire curd tart.  Except for the cranberries of course.

alphabakes

I am submitting this recipe to this month’s Alphabakes Challenge, organised by Ros of The more than occasional baker, and Caroline of Caroline Makes.  The letter this month is “Y” and you can see the details here.

Also to the “no waste food challenge” organised by Elizabeth of Elizabeth’s Kitchen Diary.  This monthly challenge is devoted to making us all think about how to use food in a way that avoids waste and you can see the details here.

Yorkshire curd tart5 So here’s how I made my Yorkshire curd tart ~ you can see the original recipe that I followed loosely here.

Ingredients

For the pastry:

200g plain flour

100g cold butter, cubed

25g icing sugar

1 egg, beaten

For the filling:

250g curd cheese

2 eggs, beaten

75g caster sugar

the finely grated zest of 1 lemon

70g dried cranberries

1 tblsp brandy (an ingredient I was not expecting to find in a curd tart)

freshly grated nutmetg

Method

Make the pastry in a food processor, using just the egg to bind it.  Chill in the fridge while you make the filling

Preheat the oven to 180°C / 160° fan / gas mk 4.  Grease a 23cm (approx) flan dish or tin.

Beat the cheese in a medium bowl to soften it a little.  Add the eggs, sugar, lemon zest and brandy and beat together.  Add the cranberries and mix well.

Roll out the pastry to line the flan dish or tin.  Spoon the filling into the pastry and level the top.  Grate a little fresh nutmeg on top.

Bake for 40-50 minutes until lightly browned and almost completely set, but check after 35 minutes. 

Cool in the dish and dust with icing sugar if you like.  Serve warm or cold with cream or crème fraîche.

Serves 6-8.

January 1, 2014

PARSNIP, HONEY AND CLEMENTINE CAKE

For the first post of 2014 I am posting the last cake I made in 2013.  Parsnip, honey and clementine cake.

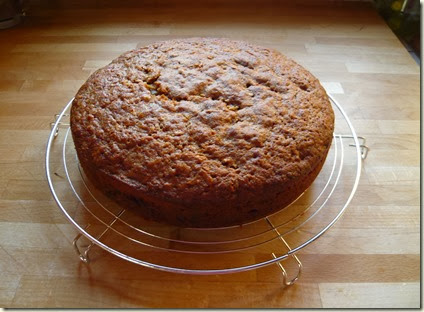
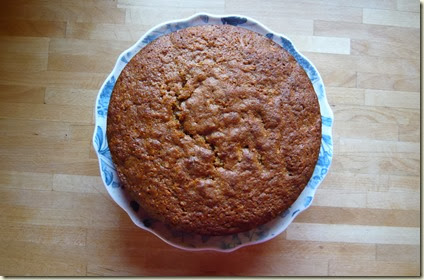
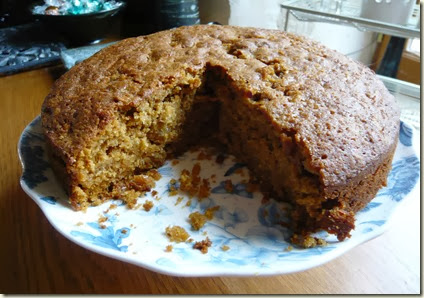
parsnip cake I spotted this recipe in the lovely Dom’s blog, Bellau Kitchen.  As soon as I read it I knew I wanted to bake the cake as soon as possible!

Dom made it as a loaf cake but as we were in France at the time of baking and my one and only loaf tin was otherwise engaged, I baked it in a 23cm round tin.  I had to bake it for a bit longer than stated in the recipe but it worked out perfectly.

parsnip cake2 I also had to make a couple of substitutions according to what I had in my French kitchen cupboards.  I used golden raisins instead of sultanas and dark soft brown sugar instead of light muscovado.  It looked nice and moist when it came out of the oven so I decided not to add the orange and honey drizzle.

parsnip cake3This was the perfect cake to round off the year.  Moist, fruity, spicy and delicious.  If you didn’t know it contained parsnips you would never guess I think. 

And of course, as it contains no butter but plenty of vegetables it kicks off the New Year to a fantastic healthy start !!

So I would like to say a huge “thank you” to Dom for this recipe ~ and all the others I have either baked already or saved for future enjoyment ~ so many recipes, so little time !!

And a Happy New Year to everyone.  Here’s to many more delicious cakes and bakes in 2014.

Ingredients

200g golden raisins

the juice and zest of 4 clementines

2 tblsp honey

3 large eggs

175ml sunflower oil

200g dark soft brown sugar

200g self-raising flour

50g ground almonds

1tsp baking powder

1tsp ground ginger

½tsp ground cinnamon

225g parsnips, peeled and grated

Method

Put the sultanas, honey and clementine juice in a small pan and heat gently for five minutes.  Set aside to cool.

Preheat the oven to 170°C / 150° fan.  Grease and line the base of a 23cm round springform cake tin.

Beat the eggs, sugar and flour together in a large bowl until creamy.  Add the raisins from the pan and all the other ingredients and mix well.

Spoon the mixture into the prepared tin, level the top and bake for about an hour until risen and golden.  Cool in the tin for 5 minutes then transfer to a wire rack.

Cuts into 10-12 slices.