January 26, 2021

CRANBERRY AND ORANGE DRIZZLE CAKE

During the doldrums between Christmas and New Year I found myself near to Tesco when there were hardly any customers.  I made a quick dash inside and there were punnets of cranberries reduced in price.  They were an irresistible bargain so I swooped.

I had in mind the apple, orange and cranberry cake I made a couple of years ago which was lovely and you can see here.  Then just out of interest I did a bit of internet research and came across this recipe on the Waitrose website and thought I would try that instead.  I also fancied making a Bundt cake.


I am a fan of Bundt cakes and now have a small collection of lovely designs but the one problem with them is that they are all so huge.  They take a lot of mixture so I find myself having to seek out recipes written specially for them.  They also take a lot of eating - a lot of mixture means a big cake, much too big for just the two of us.  We end up with bits of cake filling up the freezer, or very happy neighbours (no bad thing).

When I spotted this tin on the Lakeland website it looked to me like it would work with the quantity of mixture you would put in a regular 8" round tin or a 2lb loaf tin.

I ordered one and it turns out I was right, it's exactly the right size for more normal cake recipes.

I was hoping the design of  the Lakeland tin would produce cakes similar to the beautiful Nordic Ware Anniversary Bundt tin (above).  It's the original Bundt tin and I have long admired its sharp angles and elegant lines.  It was a big ask!  But it's a well made tin and will be very useful.

The cake was yummy, had a good orange flavour with the sharpness of cranberries and the background of ground almonds.  I was also rather chuffed that my cranberries didn't sink to the bottom of the cake tin (therefore all ending up at the top of the cake).   

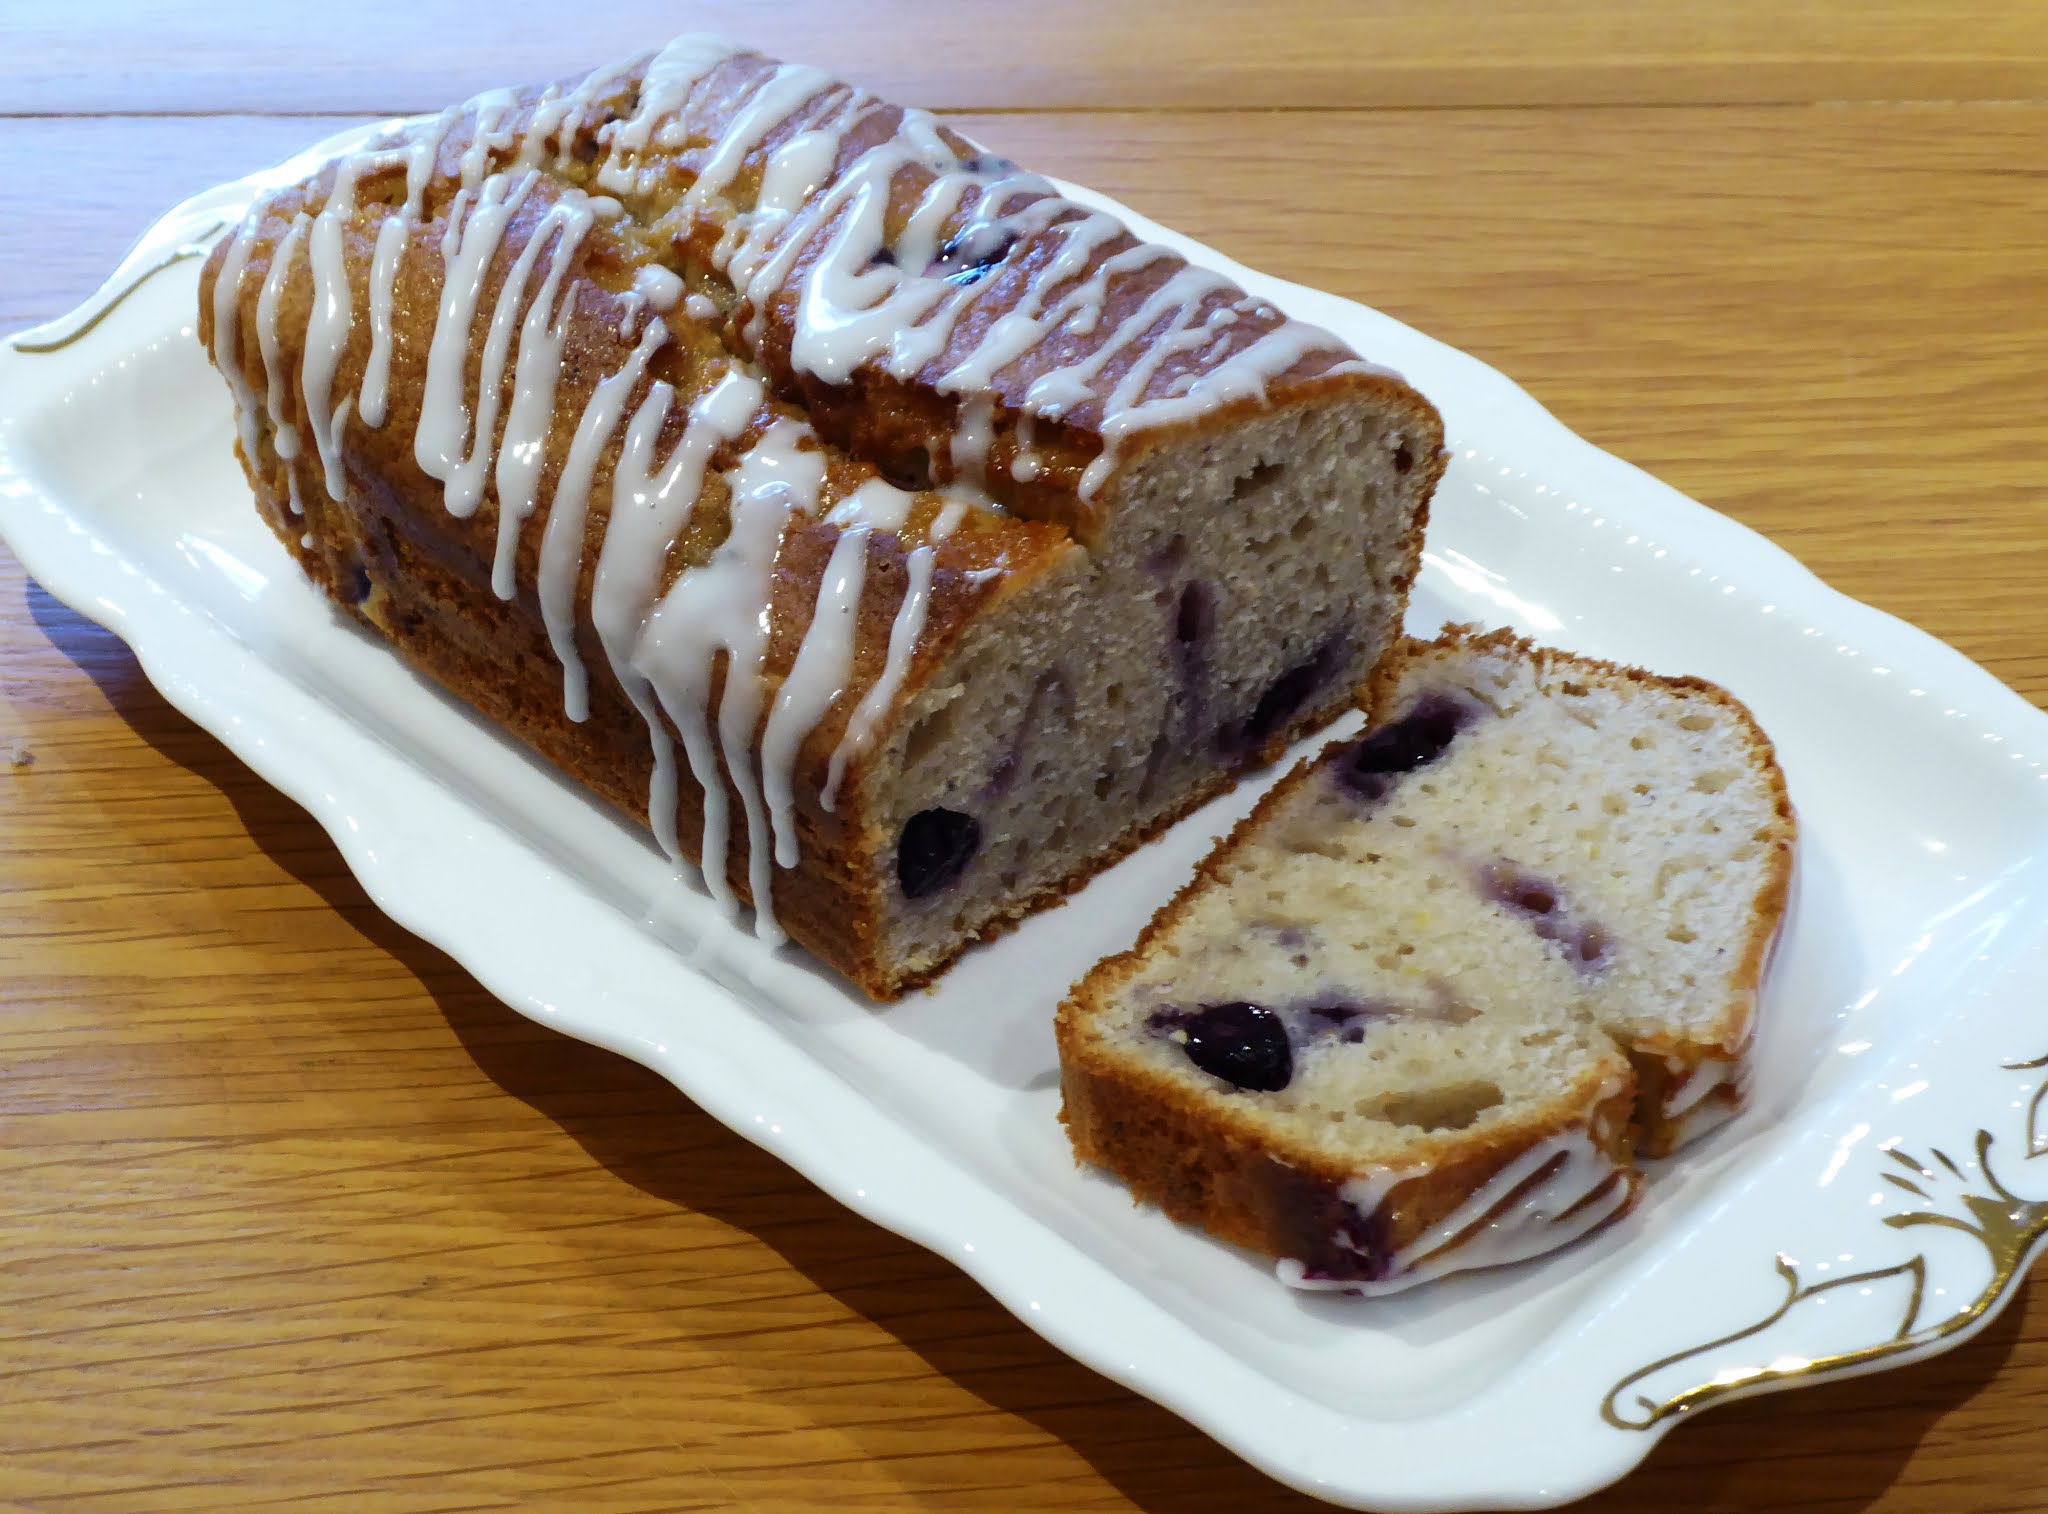
I can see me adapting this recipe for a lemon and blueberry cake, coconut and lime cake, and possibly even a cherry and almond.  It's a keeper for sure.

Ingredients

For the cake

225g softened butter (I used Anchor spreadable)

225g golden caster sugar

4 medium eggs

175 self raising flour, sifted

1 tsp baking powder

50g ground almonds

zest of 1 large orange

175g fresh cranberries, rinsed and dried

For the drizzle

50g granulated sugar

half of the juice of  the orange*

Method

Preheat the oven to 170° C / 150° fan / gas mk 3.  Grease and line a 900g loaf tin or prepare a 20cm Bundt tin using cake release.

Put all the cake ingredients except for the cranberries into a large bowl and beat until just mixed.  Fold in the cranberries.

Transfer the mixture to the tin, level the top and tap the tin on the worktop a few times to settle the mixture and prevent any air bubbles.  Bake for 50-60 minutes until done.  (Check after 45 minutes as my Bundt cake was done by then.)

Remove from the oven and here instructions differ depending on the tin:

If using a loaf tin, sprinkle the granulated sugar on top, pour the orange juice over and leave to cool in the tin.

If using a Bundt tin, cool in the tin for 10 minutes then turn out onto a wire rack, sprinkle with the granulated sugar and pour over the orange juice.

Cuts into 10-12 generous slices.

* the recipe says to use all of the juice of the orange.  That seemed like a lot to me and I wondered if it might make the cake too soggy - my large orange produced a lot of juice.  So I used just over half of it and the cake was well flavoured with the orange and moist enough.

January 18, 2021

BLUEBERRY AND LEMON YOGHURT CAKE


This is a recipe I have had my eye on for quite a while.  Blogger and blog friend Angela posted about it last year as you can see here.  The original recipe comes from the Dairy Diary cook book.  Do you remember the Dairy Diary?  I definitely used to buy the occasional copy in the 70's and 80's but didn't keep them.  They're still being produced and every December our milkman leaves us an order form for one - we haven't been tempted yet although some of the recipe books look interesting (and I do like a new recipe book!)  

You will find the original recipe for this on the Dairy Diary website here along with lots of other really good ones.  This is one of those "just mix it all together and bake" kind of recipes of which I am a great fan!


On the website the recipe uses melted butter but in Angela's version she uses oil instead.  If it's a tried and tested old recipe, I wonder if it originally said to use oil and that butter is a recent change.  I have noticed before that recipes get changed on websites without any mention of it.  For example, my well used recipe for upside down cake using fresh pineapple on the Tesco website has been changed to use tinned pineapple - see here.

Angela also adapted the recipe to use some blackberries instead of the stated mixed peel which makes me think that this is yet another of those very useful recipes that can be adapted for whatever you have in stock.  I'm a great fan of those, too!

For mine I used blueberry yoghurt and some blueberries, with the zest of a lemon for good measure.  Annoyingly, my pot of yoghurt was 30g short of the required amount so I put a dollop of crème fraîche in as well.
The cake was beautifully moist and kept well for several days, the last few slices being used as a pudding with a good slathering of instant custard.  

However, I'm putting this on my list of recipes for tweaking, just because I'm curious to try it with butter instead of oil.  "Just because"  as my mum used to say when asked the eternal question "why?"!  There are quite a few on the list now, some of which turned out a disappointment but I thought they deserve a second try.    
The list goes like this:

The Dairy Diary yoghurt cake (in this post) - try butter instead of oil "just because".

The banana and apricot cake from the Trex website, see here - try butter instead of Trex to improve flavour.

The country apple cake from the Good Food website, see here - try more chocolate to get any kind of flavour!

The rose and coconut cake from the Whitworth's website, see here - try more coconut because not coconutty enough.  *This recipe has now been removed from the Whitworth's website.

The last three of these cakes were frustratingly not quite right but had elements about them that deserved a second chance.  With plenty of time on my hands due to the lockdown it could be now or never!

Ingredients
For the cake

150g pot of blueberry yoghurt

175 self raising flour

150g caster sugar

1 tblsp oil

2 eggs, beaten

70g blueberries

1 lemon, zest only  

For the icing

2 tblsp sifted icing sugar

lemon juice

Method

Preheat the oven to 180° C / 160° fan / gas mk 4.  Grease and line the base and ends of a 2lb loaf tin, or use a paper liner.

In a large bowl, mix together all the cake ingredients except for the fruit until well combined.  Fold in the blueberries until evenly distributed.

Transfer to the tin and level the top.  Bake for 30-40 minutes until done.  Cool in the tin for 15 minutes then turn out onto a wire rack to finish cooling.

When cool, drizzle with an icing made from the icing sugar mixed with just enough lemon juice to make it runny but not too thin.  

Cuts into 8-10 slices.

January 16, 2021

PASTRAMI HASH - a Saturday brunch recipe.

I really do not like this internet shopping lark, especially for groceries.  You don't find out until it's too late that some of what you ordered is not available and when we have allowed substitutions they have sometimes been quite bizarre.  My brother for example recently ordered a cheap stew pack of veg to use in his new soup maker (see previous post - I treated him to one as an aid to getting more veg into his diet) and ended up with a hugely overpriced bag of pre-prepared cauliflower and broccoli florets instead.  Who in their right mind would pick that as a substitution?  Why didn't the picker pick one onion, carrot and turnip for him instead?  Because it was picked by someone who knows nothing about veg, that's for sure. 

We always over order to make up for the items that we can't get, otherwise meal planning is impossible, like Ready, Steady, Cook every day for half of the time.  How I long for the days when I could browse the supermarket shelves, use the shopping list as a guide and take anything else I fancied instead, just because I could.

Anyway, we always end up trying to use up stuff before it goes out of date or before the next lot is ready for collection.  On this occasion I was looking at an unopened pack of pastrami.  I love a pastrami and red pepper wrap for lunch but somehow ate other things instead this last week, leaving the unused pastrami on the shelf.

I googled how to use up leftover pastrami and came across this recipe on the BBC Good Food website.  It sounded delicious and a great way to use up a good amount of it.  I also decided to use some frozen hash browns in place of the potatoes.  (It occurred to me it would also be good with frozen sauté potatoes.  I have no idea if you can get them in the UK but we often buy them in France.)  

We never eat hash browns.  I bought them some time ago because I had spotted a recipe somewhere that used them as a topping for something like a shepherd's pie.  The moment passed, the recipe got forgotten and is now lost, and the hash browns languished unwanted in the freezer.  So I used half of them for this recipe and they were scrumptious!  The good part is we have exactly the right ingredients left to have the same thing again on Sunday!

Ingredients.

about half a bag of frozen hash browns (I used seven)

about half a pack of sliced pastrami (it would work with ham instead)

2, 3 or 4 large eggs (I used 3, one for me and two for him)

a handful of grated cheddar cheese

Method

Preheat the oven to 230°C / 210° fan / gas mk 8.  Line a baking sheet with baking paper and lay the hash browns in a single layer.  Bake for 12 minutes.

Remove from the oven and reduce the temperature to 180°C / 160° fan / gas mk 4.  Cut each hash brown into 3 rough chunks and tumble into a suitable ovenproof dish.  Aim for a single layer but with no gaps when choosing your dish.

Tear the slices of pastrami into rough strips and tuck in among the hash browns.  Sprinkle the grated cheese over and make a well for each of the eggs.  Break an egg into each hole and return to the oven.  Bake for another 8-10 minutes until the whites are set but the yolks still runny.

Serve immediately with mustard and gherkins.

Serves 2.

January 9, 2021

NEW YEAR, NEW GADGET


My friend Gaynor mentioned that she was having great success with a new gadget, a Morphy Richards soup maker.  Apparently she was served a delicious mushroom soup made in one by a friend (in the days when you were allowed to meet socially distanced in the garden) and was so impressed that she got herself one.  She now uses it two or three times a week.

I am very much a fan of home made soup but am not always well organised enough to make it in time to have for lunch.  (The recipe I normally use is a Nigella one which you can see here.)  When Gaynor mentioned how easy her soup maker was to use and how rapidly it made soup I was very tempted.  When she told me what a bargain hers was I needed no further convincing and dashed off to buy one.  Various models turn up on offer in the usual discount shops all the time.

E

I was a bit concerned where it would live in the kitchen as worktop space is filling up with other gadgets (since I got my lovely Kenwood KMix food mixer - did I mention that already?) but it is not all that big, just a bit bigger than an average kettle.  My kettle that you see above is quite a small one.


In fact the soup maker is effectively a large kettle with a hand blender inside it.  The liquid you put in the pot cooks the veg and the blender bit processes it smooth.

All you have to do is put peeled and diced veg in the pot with the right amount of water and a stock pot or cube and switch it on.  You can choose to have the soup chunky or smooth and hey presto you have home made soup about twenty minutes later with hardly any washing up.

I was a bit concerned about the washing up part as the components, all two of them, are not immersible.  In reality I found that if I rinsed the top under the tap, filled and rinsed out the pot with clean water, wiped over with a clean cloth, rinsed again and dried, it was dead easy.  Quicker than  trying to wrestle the bits of a food processor into the dishwasher in fact.


For the first use today I used the recipe in the booklet that came with it to make my usual soup.  It was delicious.  There are numerous tweaks and changes I can do to experiment with it which I look forward to immensely.  Highly recommended.

There are several soup maker recipes on the Good Food website here.